
Cavitation is one of the most common — and most destructive — problems affecting pumps and the equipment connected to them, from impellers to seals to gearboxes. Left unchecked, it doesn't just wear down a pump. It can take down an entire production line.
This guide covers what cavitation damage actually is, how to spot it early, what causes it, how to repair it step by step, and when it's time to call in a specialist like Houston Pump & Gear for emergency support.
Key Takeaways
- Rattling noise, pitting, vibration, and lost pressure are the four biggest red flags of cavitation damage
- Caught early, most cavitation damage is repairable via machining, coating, or rebuild; severe cases need replacement
- The fix always follows the same order: diagnose, confirm root cause, repair, then test under load
- Even minor daily cavitation compounds wear quickly and can cause sudden failure
- Call in pros when downtime is costly, critical parts are hit, or your team lacks rebuild capability
What Is Cavitation Damage?
Cavitation damage happens when vapor bubbles form and violently collapse inside a liquid moving through your pump. It sounds abstract until you understand the mechanics. Once you do, that gravel-like noise makes a lot more sense.
Here's the three-phase breakdown:
- Low pressure develops at the pump inlet or impeller eye, often because the fluid is moving too fast or suction conditions are poor.
- Vapor bubbles form when local pressure drops below the fluid's vapor pressure. According to the Hydraulic Institute, this happens right at the impeller eye where pressure is lowest.
- Bubbles implode as they travel into higher-pressure zones inside the pump, collapsing violently and generating microscopic shockwaves strong enough to erode metal.
Those shockwaves don't stop at the impeller. Repeated implosions pit and erode impellers, casings, seals, and bearings, and the vibration they generate can transmit straight into coupled equipment like gearboxes.

Why Cavitation Damage Occurs
Most cavitation traces back to one core issue: insufficient Net Positive Suction Head (NPSH). The available NPSH at your pump suction has to exceed the required NPSH, or vapor bubbles start forming. Beyond that baseline cause, a handful of operational and design issues tend to show up again and again:
- Running outside the designed flow rate — operating far from a pump's best efficiency point increases flow separation and cavitation risk, per Pumps & Systems
- Poor suction piping design — long runs, tight elbows, or clogged strainers add losses that reduce available NPSH
- Throttled suction valves — forcing the pump away from its best operating point raises the NPSH it requires
- Skipped preventive maintenance — early pitting goes unnoticed and compounds over time
Centrifugal pumps are especially prone to this because they run at high speeds with inherently low suction pressure, giving vapor bubbles more opportunity to form near the impeller eye.
Common Signs of Cavitation Damage
Cavitation failures aren't random. They follow patterns that plant staff can learn to recognize before a full breakdown happens.
Rattling or Grinding Noise
This is usually the first symptom anyone notices: a sound like gravel, marbles, or rocks tumbling through the pump casing. Vapor bubbles imploding near the impeller or housing cause it. Machinery Lubrication's research on hydraulic pump diagnostics describes this same marble-and-gravel signature, sometimes paired with a steady, high-pitched whine.
Pitting and Surface Erosion
Open up the pump and you'll see it: pockmarked, honeycombed surfaces on the impeller eye, vane tips, or casing walls. Pumps & Systems documents this exact honeycomb crater pattern as a hallmark of cavitation erosion. It's the result of thousands of microscopic shockwaves hitting the same concentrated zone.
Reduced Flow, Pressure, or Efficiency
If your pump is drawing normal power but delivering less output than it should, cavitation has likely eroded the impeller geometry enough to disrupt fluid flow. You'll notice it working harder for the same result. That quiet, expensive symptom is easy to miss until efficiency drops noticeably.
Excessive Vibration and Seal/Bearing Wear
Implosion shockwaves don't stay contained. They transmit mechanical stress into couplings and connected gearboxes, showing up as:
- Loosened fasteners
- Premature seal leakage
- Early bearing failure
- Shaking or knocking felt through the baseplate

How to Repair Cavitation Damage (Step-by-Step)
Skipping straight to a repair without confirming the cause is how plants end up fixing the same failure twice. A proper repair process isolates the root cause first, then applies the right fix, then proves it worked under real load.
Step 1: Identify the Extent and Location of Damage
Start by inspecting the impeller eye for suction-side cavitation and the impeller tips or casing for discharge-side cavitation. Note when the noise or vibration happens:
- At startup only? Points toward suction conditions at low flow.
- Under load? Suggests operating point issues.
- Continuously? Often signals a chronic NPSH deficit.
Check seals, bearings, and connected gearboxes too. Vibration travels, and secondary damage is common.
Step 2: Confirm the Root Cause
Before touching a wrench, determine whether you're dealing with insufficient NPSH, bad piping, wrong flow rate, or simple component wear. Rule out misalignment and electrical faults too, since both can mimic cavitation symptoms. This step exists for one reason: to avoid replacing parts that were never the actual problem.
Step 3: Repair the Damage Based on Root Cause
This is where the fix depends entirely on what Step 2 uncovered.
For pitted or eroded metal components, repair falls into three categories, often combined: precision machining, weld build-up, and wear-resistant coatings.
According to Pumps & Systems, coating repairs need a clean, roughened surface (typically sandblasted) before application. Machining restores critical fits like mechanical seal bores and rabbet surfaces. Welding cast components is the least preferred method: heat can distort the part and often forces rework of every machined surface afterward.
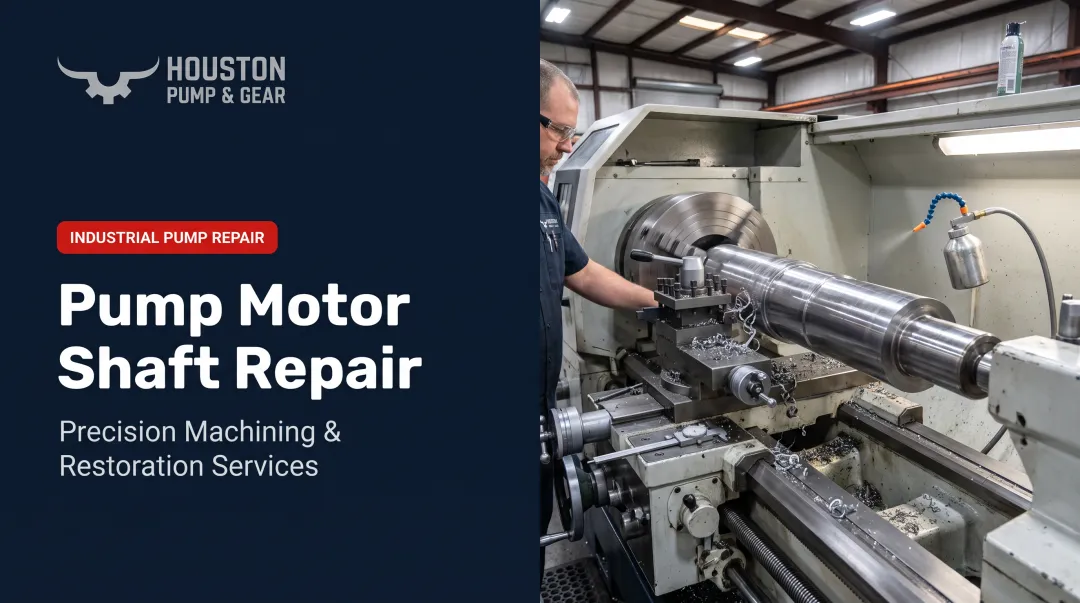
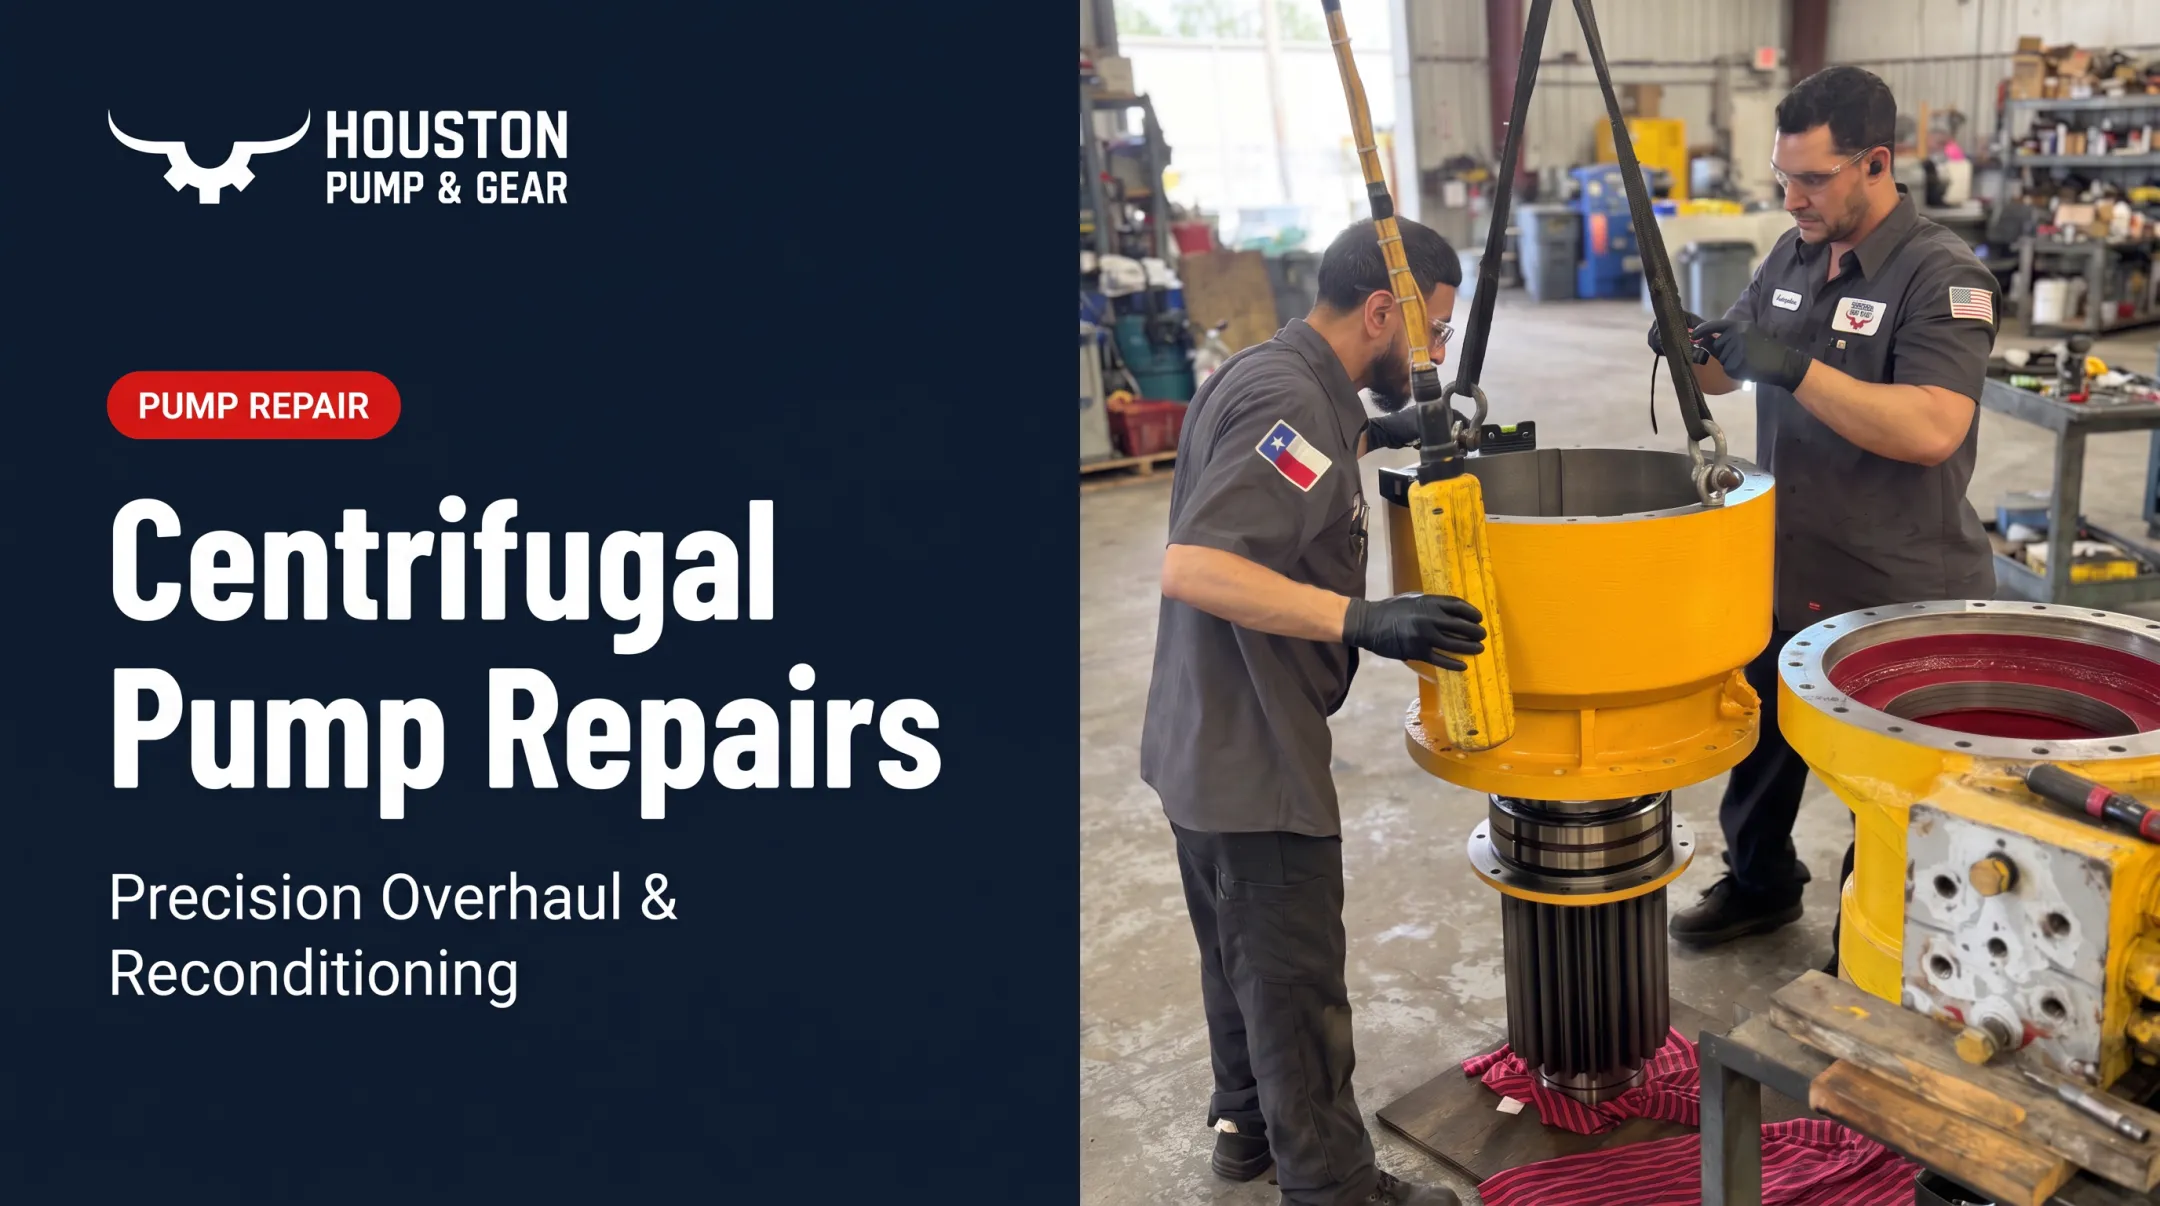
A shop like Houston Pump & Gear handles that work under one roof. Instead of shipping a cavitation-damaged impeller or shaft to multiple vendors for machining, coating, and reassembly, its Houston facility covers precision machining, shaft restoration through metal spray, and dimensional rebuilds, with mobile pickup to cut downtime.
For NPSH-related issues, correct the suction piping design, clear blockages, remove unnecessary throttling, or adjust pump sizing to restore adequate suction head.
For operational causes, correct the flow rate and confirm the pump is running within its designed performance curve.
Before reassembly, every repaired or replaced part needs to meet original clearance and tolerance specifications — no shortcuts here, since a slightly-off impeller clearance can reintroduce the same cavitation conditions.
Step 4: Test and Validate the Repair
Run the pump under normal and peak load. Watch for the return of noise, vibration, or pressure loss. Confirm the NPSH margin and flow rate match expected benchmarks before the equipment goes back into full service. Skipping this step is how "repaired" pumps end up back in the shop within weeks.

Repair or Replace: Making the Right Call
The decision comes down to three things: damage severity, safety risk, and the cost of downtime versus a full replacement.
| Damage Scenario | Repair | Replace |
|---|---|---|
| Minor, early-stage pitting | Machining, resurfacing, or coating usually restores performance affordably | Rarely needed unless the part is near end of life |
| Severe erosion through vanes or casing walls | Possible if structural integrity survives the rebuild | Recommended if material loss compromises strength or balance |
| Damage to bearings/gearboxes | Feasible if limited to wear components | Full overhaul if vibration caused internal gear or shaft damage |
| Recurring cavitation after repair | Unlikely to solve a design flaw | Redesign suction piping or upgrade the pump model |
One real-world case makes this distinction clear. A Sulzer retrofit on a cooling-water pump found that repairing the impeller repeatedly wasn't solving the underlying issue: the pump simply wasn't matched to its actual duty point.
Sulzer designed a new duplex impeller for the real operating conditions instead, and the retrofitted pump ran smoothly without cavitation noise afterward (Sulzer case study).
Recurring failure despite prior repairs is the clearest signal you're dealing with a system issue, not a component issue.
Preventing Cavitation Damage & Mistakes to Avoid
Most cavitation disasters share the same root: someone decided the early warning signs weren't worth acting on.
Common mistakes that make cavitation worse:
- Dismissing early rattling as "just how the pump sounds"
- Skipping root-cause diagnosis and jumping straight to parts replacement
- Waiting for catastrophic failure instead of scheduling repair
- Ignoring coupled equipment for secondary vibration damage
Preventive habits that actually work:
- Monitor NPSH margins regularly against the pump's required curve
- Maintain proper flow rates and avoid throttled suction conditions
- Verify pump-motor alignment during routine maintenance
- Apply corrosion- and wear-resistant coatings to vulnerable surfaces
- Schedule routine vibration and noise monitoring to catch pitting early
When damage does happen despite prevention, response speed matters. A cavitating pump left in service can wreck impellers and seals quickly, then pass vibration damage into coupled equipment.
Houston Pump & Gear's 24/7 emergency pump repair includes same-day dispatch so plants and industrial facilities can limit secondary damage and restore critical units before downtime multiplies.
Frequently Asked Questions
Is cavitation harmful to pumps?
Yes. Cavitation is highly damaging. It causes pitting, erosion, vibration, and reduced efficiency, and damage worsens the longer the condition goes unaddressed.
What happens if my pump cavitates every day?
Daily or continuous cavitation dramatically accelerates wear. Expect faster component failure, higher energy costs from reduced efficiency, and a much greater risk of unplanned shutdown.
Can cavitation damage be repaired without replacing the pump?
In many cases, yes. Machining, rebuilding, or coating the affected components can restore performance, provided the underlying root cause (usually an NPSH deficit) gets corrected too.
How much does cavitation repair typically cost?
Cost depends on damage severity and which components are affected, from a straightforward coating job to a full impeller rebuild. Early repair is consistently far cheaper than emergency downtime or full pump replacement.
How can I tell if pump noise is cavitation or something else?
Cavitation typically produces a distinct gravel or marble-like rattling sound, sometimes paired with a steady whine. Bearing wear or misalignment tend to sound different, but vibration analysis gives a more reliable answer than sound alone.
How can I prevent cavitation damage from returning after repair?
Correct the NPSH margin, fix any suction piping issues, and keep the pump operating within its designed flow range. Ongoing vibration monitoring helps catch early signs before damage builds up again.