
Introduction
A gearbox seal leaking oil is one of the most common issues we see across power plants, mills, and heavy industrial facilities. Left alone, a small drip rarely stays small.
Unplanned outages cost the average industrial business a median of $124,669 per hour, according to ABB's 2023 global survey of plant-maintenance decision-makers. More than two-thirds of the businesses surveyed reported unplanned outages at least once a month.
Seal leaks aren't random. They follow predictable wear patterns tied to age, internal pressure, shaft alignment, or oil contamination. Diagnose the wrong cause, and a brand-new seal fails just as fast as the old one.
This guide covers:
- The most common symptoms and causes of gearbox seal leaks
- A step-by-step fix process, from diagnosis to validation
- How to decide between repair and full replacement
- When to call in an emergency repair team for critical equipment
Key Takeaways
- Most leaks come from worn seals, overfill, blocked breathers, misalignment, or dirty oil
- Fixing the root cause, not just swapping the seal, is what makes a repair actually stick
- Proper fix: find the source, check oil and breather, inspect the shaft, replace the seal, test under load
- Cracked housings, pitted gears, or badly scored shafts usually call for replacement, not repair
- High-stakes equipment downtime calls for an emergency repair partner, not guesswork
What Is a Gearbox Seal?
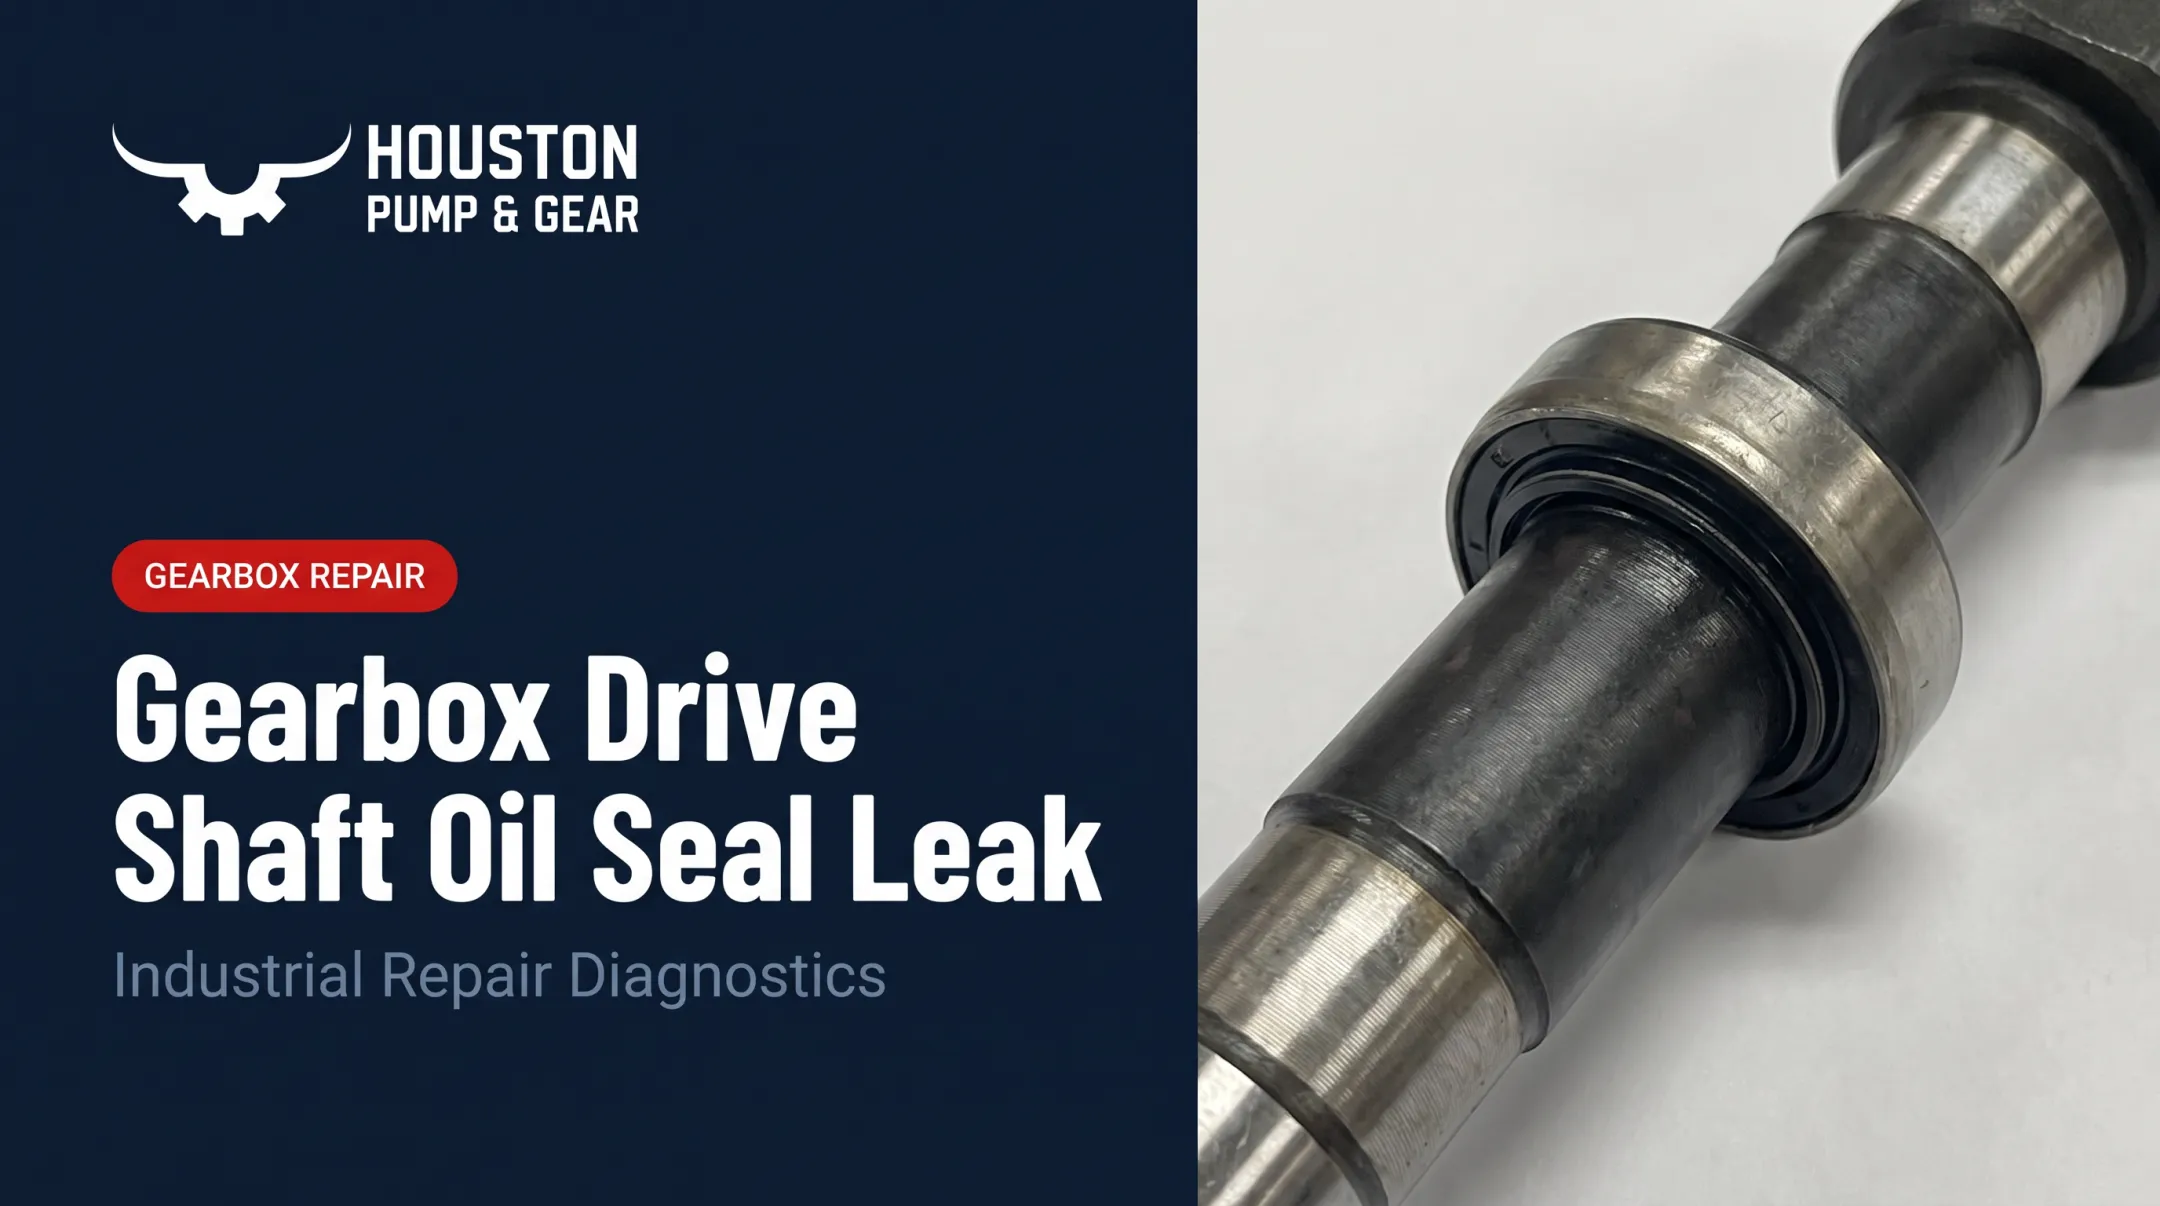
A gearbox seal, sometimes called a radial shaft seal or oil seal, fits around a rotating shaft where it exits the gearbox housing. Its job is simple: keep lubricant inside, keep dirt, dust, and moisture out.
The outer edge of the seal presses against the housing bore, while a flexible lip rides against the shaft under constant spring-loaded pressure. Many designs add a secondary lip solely to keep contaminants away from the primary sealing surface.
It's a small part doing a hard job. The seal sits at a high-friction, high-heat contact point under rotational stress, pressure swings, and temperature cycling. It runs hot during operation and cools every time the unit shuts down.
That constant cycling is why seals count as a wear item, not a permanent component. Over the life of an industrial gearbox, the seal degrades predictably:
- Rubber compounds harden and lose flexibility
- The sealing lip thins from constant shaft contact
- Age and heat exposure eventually cause cracking
Routine inspection catches this wear before it turns into a leak, a shutdown, or a damaged shaft. Skipping that inspection is usually how a minor part becomes a multi-day repair.
Common Signs & Causes of Gearbox Seal Leaks
Most gearbox seal leaks trace back to one of four repeatable failure patterns. Spotting the pattern early tells you what's actually wrong, before oil ends up on the floor.
Worn or Hardened Seal Material
Symptoms: Oil visible around the shaft or seal area, drips accumulating below the unit.
Seals lose plasticizer over time, causing the rubber compound to shrink and harden. Repeated hot/cold operating cycles accelerate this until the material cracks and loses its grip against the shaft.
Overfilled Gearbox or Blocked Breather
Symptoms: Leakage from the top of the housing or breather vent, an oily film across the casing exterior.
Excess oil or a clogged vent traps pressure inside the housing. That pressure has to go somewhere, and it pushes oil past seals that were only designed to handle normal, vented levels. A breather that hasn't been cleaned in months is often the real culprit, not the seal itself.
Shaft Misalignment or Worn Shaft Grooves
Symptoms: Uneven leak patterns, unusual noise or vibration, seal wear that's faster on one side than the other.
Misalignment loads one side of the seal lip far more than the other. Parker's rotary seal design guide notes that shaft-to-bore misalignment causes rapid, localized wear on the loaded side while leaving inadequate contact on the opposite side. Leakage begins once shaft runout exceeds what the lip can handle.
Worn shaft grooves create the same failure mode from a different direction: the lip rides in a scored track, loses even contact, and oil escapes along the groove.
Oil Contamination
Symptoms: Accelerated wear on the seal lip, gritty or discolored oil during inspection.
Abrasive particles work their way into the seal lip and shaft surface, cutting material with every rotation. SKF attributes roughly one-sixth of all bearing failures to contamination linked to ineffective seals; once particles get past the seal, they get rolled into the raceway and start pitting it almost immediately.
What Happens If You Ignore These Signs
Left unaddressed, any of these four issues leads to the same downstream problems:
- Accelerated gear wear as lubrication drops
- Overheating inside the housing as oil levels fall
- Slip hazards and environmental compliance exposure from oil on walking surfaces
- Unplanned downtime once the gearbox fails

How to Fix a Leaking Gearbox Seal (Step-by-Step)
Replacing a seal without figuring out why it failed almost guarantees the leak comes back within weeks. Work through the diagnosis first, then the repair.
Step 1: Identify the Exact Leak Source
Clean the housing thoroughly, run the unit under normal load, then watch closely for exactly where fresh oil first appears. Oil travels along shafts and housing seams before it drips, which means the seal can look guilty when a gasket or drain plug is the real source.
Step 2: Check Oil Level and Breather Condition
Check oil level against the manufacturer's specification about 30 minutes after shutdown. Don't eyeball it while the unit is still hot and the oil hasn't settled.
A blocked breather traps pressure that will defeat even a brand-new seal, so clean or replace it before doing anything else.
Step 3: Inspect the Seal and Shaft Surface
Look at the seal lip for wear, cracking, or a displaced spring. Then check the shaft itself for scoring, grooves worn in by the old seal, or corrosion. A damaged shaft surface will make a brand-new seal leak from day one. This step gets skipped more often than any other, and it's usually why repeat leaks happen.
Step 4: Replace the Seal Correctly
When installing the new seal:
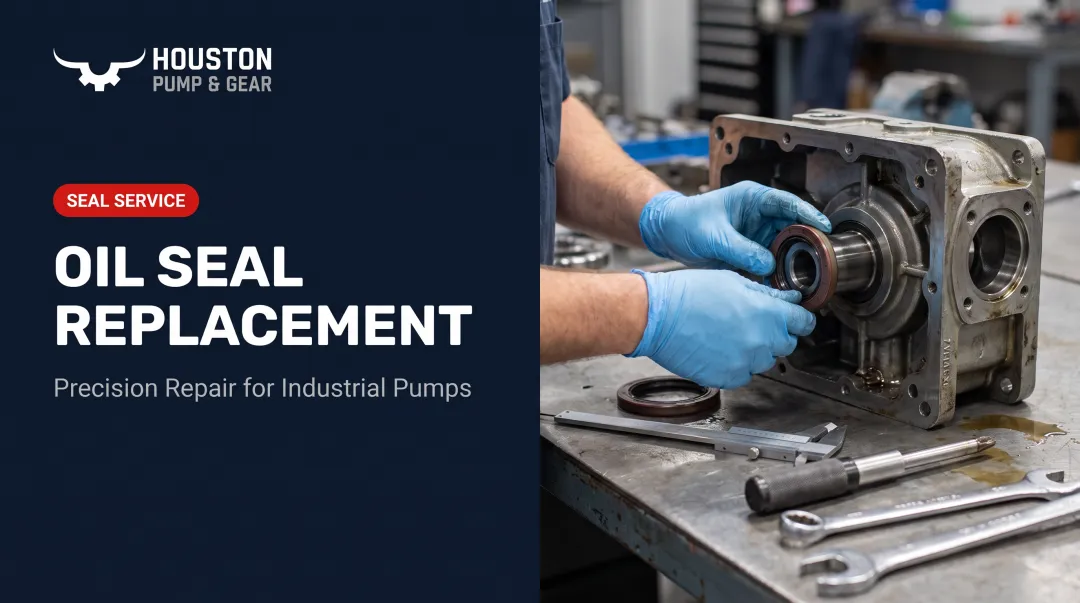
- Use a proper seal driver or press
- Orient the lip toward the lubricant it's meant to contain before pressing it in
- Protect the lip from keyways and sharp shaft edges during installation
A single nick creates an immediate leak path that no amount of torque will fix.
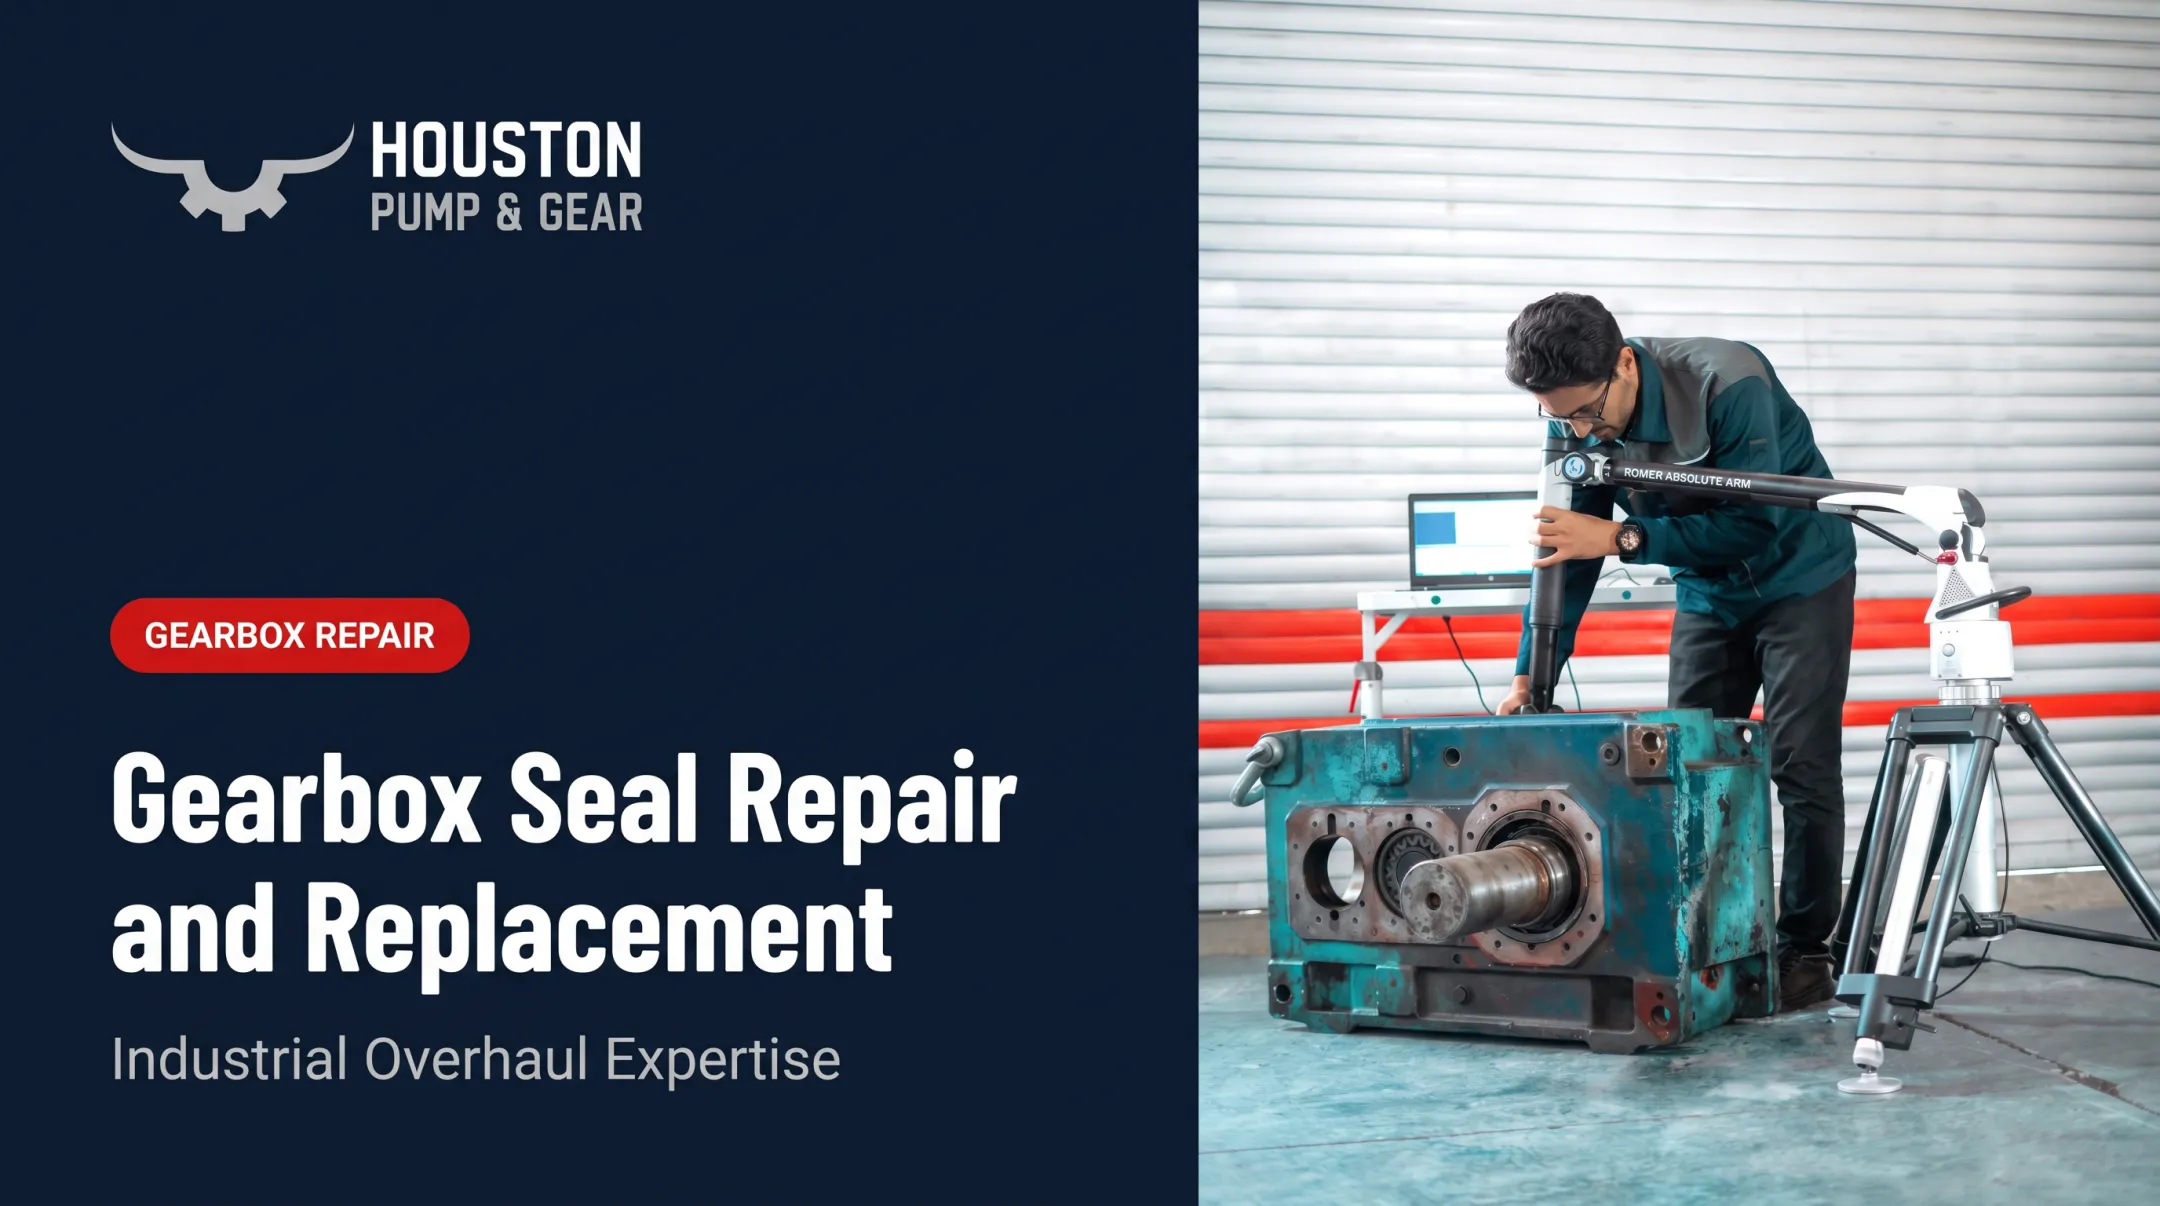
If the shaft needs precision restoration along with the seal, Houston Pump & Gear performs that work in-house using CNC machining centers, presses rated up to 250 tons, and a controlled-atmosphere cleanroom for contamination-sensitive jobs.
Step 5: Test and Validate the Repair
Run the gearbox at reduced load first. Inspect again after a few hours, then once more after 24 to 48 hours once the unit reaches normal operating temperature. Confirm there's no seepage before putting the gearbox back into full duty. A leak that reappears under heat and full load costs far more to catch later than now.

Repair or Replace? Knowing When to Call a Professional
For power plants and heavy industry, the real comparison isn't repair cost versus a new seal's price tag. It's repair cost versus the cost of downtime.
| Scenario | Recommended Action |
|---|---|
| Small, isolated leak; shaft and housing still in good condition | Repair: replace the seal and fix the root cause (breather, alignment, or contamination) |
| Shaft grooved or scored only at the seal contact point | Repair: a wear sleeve often restores the running surface; replace if the groove is too deep to reseal reliably |
| Cracked housing, pitted gears, or noisy bearings alongside the leak | Replace: continued seal work on compromised internals usually costs more in repeat downtime than a rebuild |
| Critical, continuously-running equipment where a wrong diagnosis risks extended outage | Call an emergency repair partner rather than risk a repeat failure |
As a general guideline, once a repair estimate climbs toward roughly 75% of the cost of a comparable replacement or rebuilt unit, replacement usually makes more financial sense than continued repair.
Cost is only half the call. When a critical unit is down, turnaround speed often matters as much as the repair invoice.
When a 72-Hour Turnaround Mattered
In 2014, a power plant client lost a Lufkin S2212C gearbox, forcing an emergency shutdown. The plant's operator remembered a conversation with Houston Pump & Gear's Project Manager, Vince Parker, from an industrial convention earlier that year.
Houston Pump & Gear dispatched a truck the same day, picked up the failed unit, and diagnosed it at the Houston shop. Repairs put the gearbox back in service 72 hours later, cutting short what would otherwise have been a much longer outage.
That relationship didn't end with one repair. The client has since had more than 15 additional units serviced by the company. Correct diagnosis on a critical failure builds that kind of long-term trust.
For facilities that can't wait on a multi-week repair cycle, Houston Pump & Gear's refurbished gearbox exchange program is another path. It supplies a rebuilt, spin-tested unit matched to the customer's reduction ratio, backed by a 12-month warranty, typically within 7 to 10 business days.

Avoiding Future Leaks: Mistakes to Avoid & Prevention Tips
Common Mistakes to Avoid
- Replacing the seal repeatedly without checking the breather, alignment, or oil cleanliness
- Skipping shaft inspection and wasting a new seal on a damaged running surface
- Installing the seal at an angle or with the wrong lip orientation, creating an immediate leak path
Avoiding these shortcuts keeps the next seal from failing for the same reason.
Preventive Measures
- Add breather and oil-level checks to a routine maintenance schedule instead of waiting for a visible leak
- Verify shaft alignment during any reassembly or coupling work; misalignment is a leading cause of repeat seal failures
- Use oil analysis and filtration to catch contamination before it damages seals and shaft surfaces
Most gearbox seal leaks are fixable once the root cause is correctly diagnosed early. Facilities across Texas and Louisiana can reach Houston Pump & Gear at +1 832-603-9663 for 24/7 emergency support. The team has spent over 20 years servicing Falk, Flender, Lufkin, Philadelphia Gear, and other major brands, helping you cut downtime before a leaking seal becomes an urgent outage.
Frequently Asked Questions
What causes gearbox seals to leak?
Most leaks trace back to seal aging and hardening, overfilled units or blocked breathers, shaft misalignment, and oil contamination. Identifying which cause applies determines whether a simple seal swap will actually hold.
How much does it cost to replace a gearbox seal?
Cost depends on gearbox size, seal type, and labor or downtime factors, with industrial units typically running higher than small commercial gearboxes. Getting a quote based on your specific unit is the most reliable way to budget for the repair.
Can you keep running equipment with a gearbox leak?
Operating with a leak risks low lubricant levels, overheating, and accelerated gear wear. Brief continued use while arranging repair is sometimes unavoidable, but it shouldn't go on for long.
How long does a gearbox seal repair take?
A simple seal swap can take a few hours once the unit is disassembled, but diagnosing the root cause and sourcing parts can extend that timeline. Emergency services can often turn a unit around within a few days.
Is a gearbox oil leak dangerous?
Yes. Leaked oil creates slip hazards and fire risk, and can trigger environmental compliance issues. Left unaddressed, it also leads to overheating and accelerated gear failure inside the unit.
Can you use a sealant additive to temporarily stop a gearbox leak?
Seal-swell additives or leak-stop compounds can act as a short-term stopgap until a scheduled repair. The gearbox should still be flushed and the seal properly replaced afterward, since these products aren't a permanent fix.