
Wear doesn't happen overnight. Cyclic torque loads, misalignment, corrosion, and gaps in preventive maintenance all chip away at spline teeth until backlash, cracking, or outright failure shows up on a shutdown report.
This article covers the common failure patterns behind damaged splines, whether welding and remachining is a workable fix or just a temporary patch, a step-by-step look at how a qualified shop actually repairs one, and when the safer call is a full replacement.
TL;DR
- Most spline failures fall into four categories: wear/fretting, cracked or chipped teeth, torsional shear, and corrosion/pitting
- Welded splines can return to reliable service for wear-related damage; cracked or fatigued teeth usually need replacement, not weld repair
- The repair sequence: diagnose the damage type, confirm weldability, weld build-up and re-cut, then inspect and test before reinstalling
- Skipping NDT or metallurgical review before returning a repaired shaft to critical service is one of the most common, and costly, mistakes
Common Spline Problems & Why They Fail
Splines are ridges and grooves machined into a shaft that mesh with a matching internal spline, transmitting torque while keeping the shaft centered and aligned with the driven component. When that interface degrades, four failure patterns show up again and again.
Spline Wear and Fretting
- Symptoms: backlash you can feel by hand, rounded or thinned tooth profiles, fine metal powder or rust-colored debris at the coupling
- Likely cause: repeated micro-movement under load (fretting), combined with inadequate lubrication at the interface
Cracked or Chipped Teeth
- Symptoms: visible cracking, chipped tooth edges, a sudden jump in noise or vibration
- Likely cause: fatigue from cyclic overload, shock loading, or a pre-existing material defect
Torsional Shear
- Symptoms: the shaft twisted or sheared clean at the spline root, total loss of drive
- Likely cause: torque overload beyond design limits, often triggered by a downstream jam or seizure
Corrosion and Pitting
- Symptoms: surface rust, uneven wear pattern, a fit that's gone loose at the coupling
- Likely cause: moisture ingress, coating breakdown, or extended outdoor or humid storage
According to AGMA 945-2-B20, surface distress, tooth breakage, and shaft or hub breakage are among the most common spline failure modes in the industry. Nearly all of them trace back to the same root causes: misalignment, missed lubrication, improper installation, or a preventive maintenance interval that got skipped one too many times.
Ignore the early signs and the damage rarely stays contained. A worn spline running under load transmits shock and backlash straight into the mating gear teeth, bearings, and seals. What could have been a bushing-level fix becomes a full gearbox teardown, an unplanned outage, and a real safety risk on the shop floor.

How to Weld and Repair a Damaged Shaft Spline (Step-by-Step)
Welding without first diagnosing the exact damage type wastes labor and risks a repair that fails again shortly after it's put back into service.
Step 1: Diagnose the Spline Damage
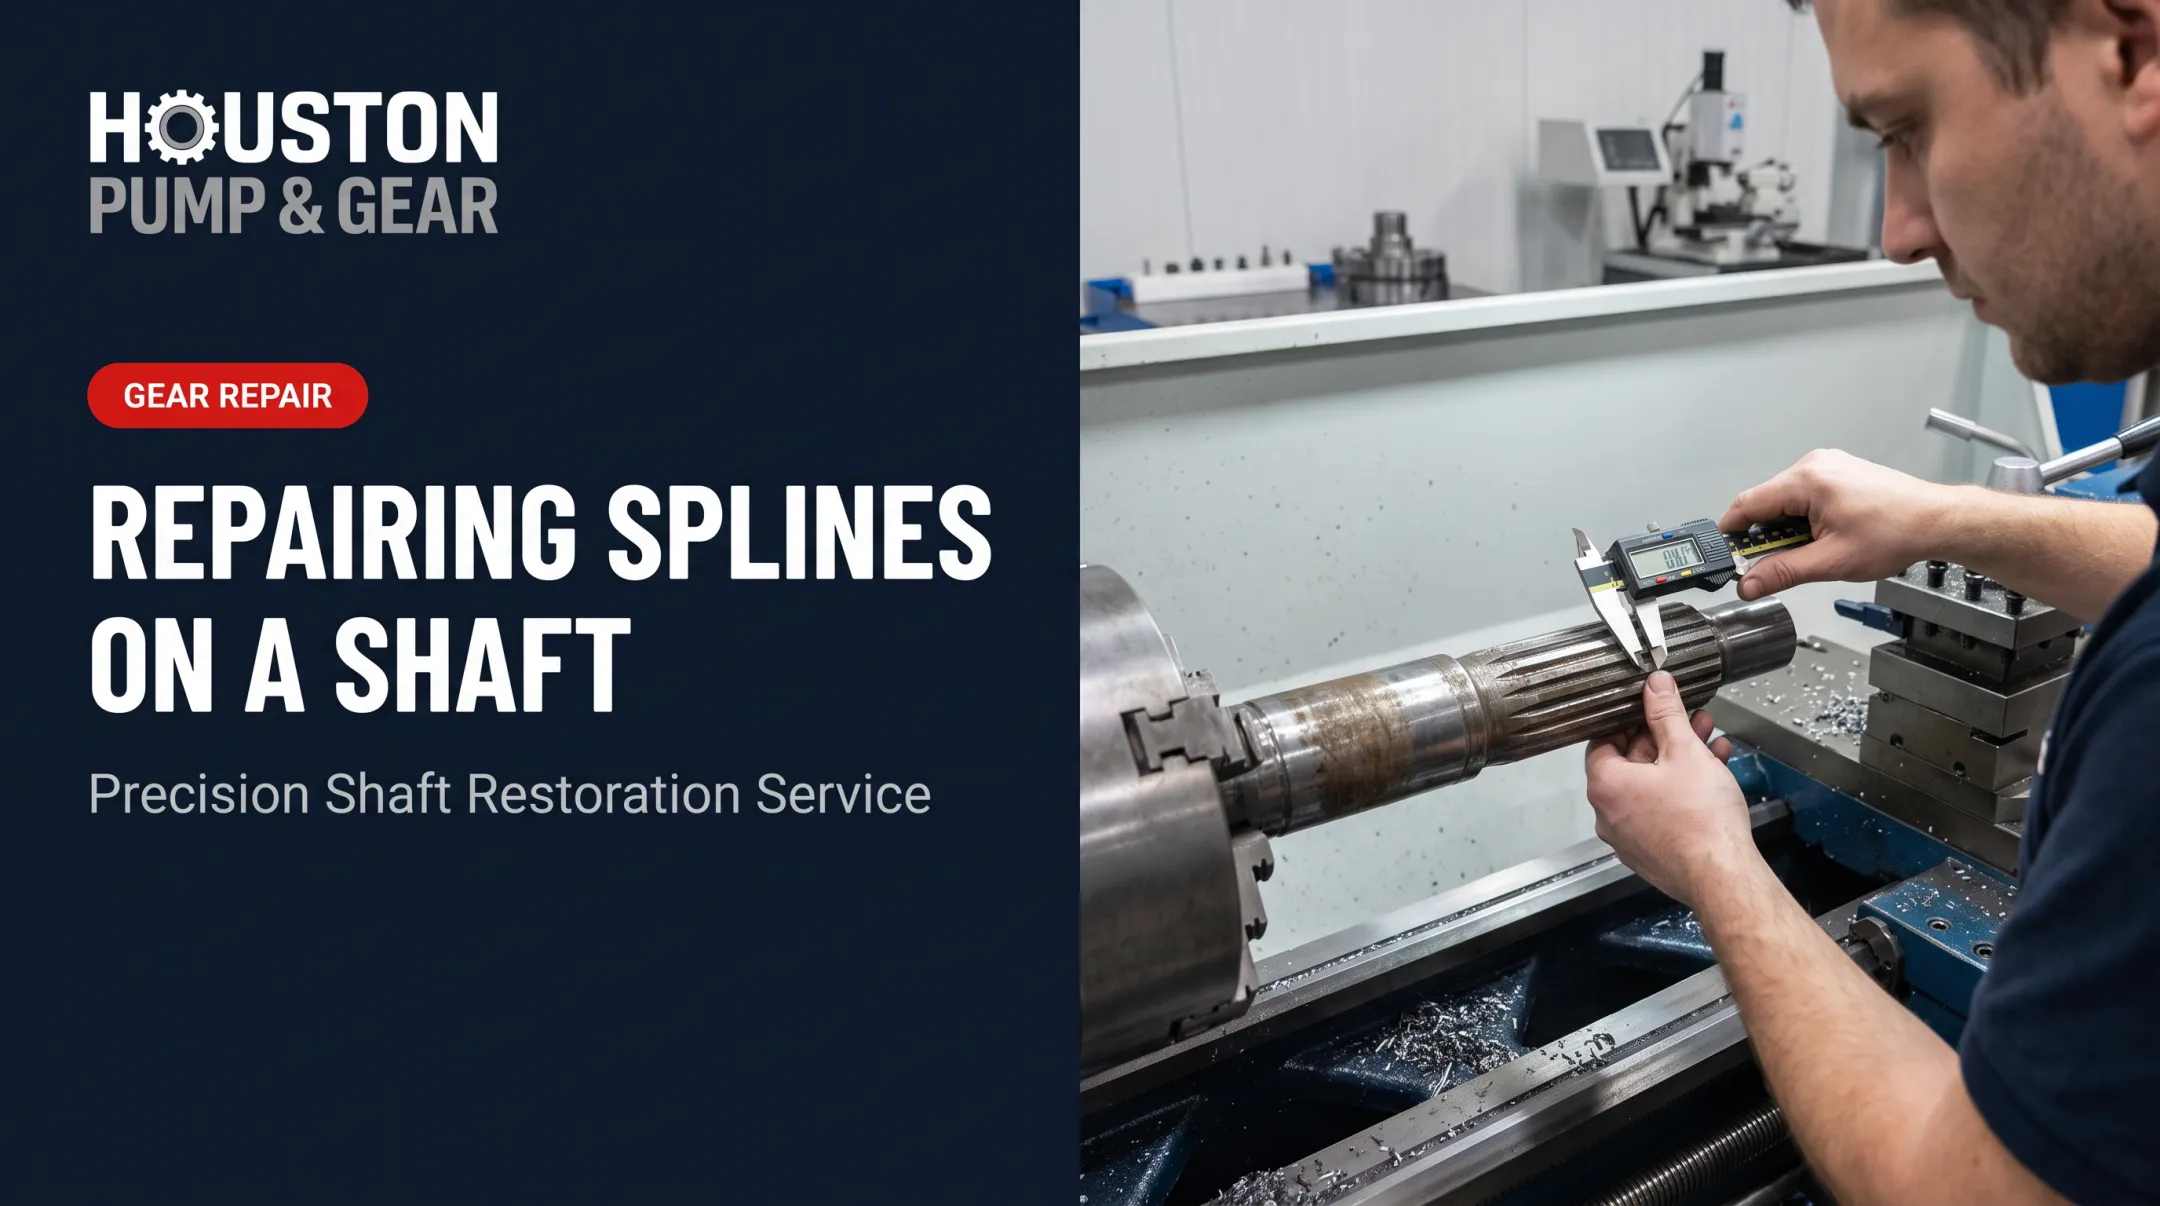
- Measure tooth thickness and backlash against OEM fit charts using a spline gauge or comparator
- Run dye penetrant or magnetic particle inspection to rule out cracking before committing to a weld. A crack that gets welded over doesn't disappear; it just gets buried
- Identify the base material grade and prior heat treatment, since this determines filler metal choice and preheat requirements
Step 2: Confirm Welding Is the Right Repair Approach
Weld build-up is suited to correcting wear, undersized fit, or minor erosion. It is not a fix for fatigue-cracked or heavily degraded splines.
Carbon and alloy content also dictate whether the shaft needs controlled preheat and post-weld heat treatment to avoid cracking or embrittlement in the heat-affected zone.
This is where an experienced shop earns its keep. At Houston Pump & Gear, this diagnostic step determines within hours whether a shaft is salvageable or should go straight to replacement or reverse engineering, avoiding wasted turnaround time on a repair that was never going to hold.
Step 3: Weld Build-Up and Re-Cut the Splines
- Machine the damaged section down to clean base metal before any filler goes on
- Apply filler metal in controlled passes, holding preheat and interpass temperatures to rebuild diameter without warping the shaft or overheating adjacent material
- Stress-relieve the weld, and re-harden if required, to restore surface hardness
- Once the shaft has fully cooled and stabilized, re-cut or broach the spline profile back to OEM print tolerances
Process and operator qualification should follow AWS D14.6/D14.6M, the specification governing welding of rotating equipment.
Step 4: Inspect, Test, and Validate the Repair
- Check spline fit against the mating component using go/no-go gauges
- Run dye penetrant or magnetic particle inspection again, this time to catch any cracking introduced by welding heat
- Dynamic-balance the shaft if it operates at high rotational speed
- Test-run the assembly under load, then document the repair for the maintenance record before it goes back into service

When Should You Repair vs Replace a Splined Shaft?
A repaired shaft rarely carries the same confidence as a new one. Cost and downtime matter, but reliability is the real trade-off.
| Scenario | Repair | Replace |
|---|---|---|
| Minor wear/fretting, no cracking | Weld build-up and re-cutting is typically viable and faster to turn around | Only worth it if a spare is already on hand and zero risk tolerance is required |
| Cracked or fatigued teeth | Welding can mask microfractures beneath the new material — rarely advisable | The safer, recommended path |
| Obsolete/custom shaft, no OEM replacement | Often the only economical option, reverse-engineered from the worn original | Viable only if a part can be sourced or fabricated within the downtime window |
| Critical, high-speed, or safety-critical equipment | Acceptable only as a short-term bridge with engineering/metallurgical sign-off | The standard recommendation for long-term reliability |
The risk of masking cracks isn't theoretical. ASM International's failure analysis of two diesel-engine drive shafts found that welded repairs failed by torsional fatigue after roughly two weeks in service.
Heat-affected-zone cracking, residual stress, and weld metal with lower fatigue strength than the base material drove those failures.
Once a repair estimate climbs past roughly 75% of the cost of a new shaft or gearbox assembly, replacement usually wins on both economics and reliability.
Common Mistakes to Avoid & Preventive Measures
Most preventable repair failures come from skipped steps, not poor welding technique.
Common Mistakes to Avoid
- Welding before confirming whether the damage is wear (fixable) or a fatigue crack (not fixable)
- Skipping stress-relief or heat treatment after welding, leaving the shaft brittle or dimensionally unstable
- Re-cutting splines without verifying hardness and OEM tolerance, setting up premature re-wear
- Returning a repaired shaft to service without dynamic testing or NDT (non-destructive testing) confirmation
Preventive Measures
- Build spline and coupling inspection into routine gearbox and shaft PM schedules
- Maintain proper alignment and lubrication at spline/coupling interfaces to cut down fretting wear
- Keep critical spares on hand, or maintain a relationship with a rapid-response repair partner
- Train maintenance teams to log torque anomalies, vibration changes, and unusual noise for early detection

Conclusion
Most spline wear issues are salvageable through welding and remachining, provided they're caught early and diagnosed correctly. The deciding factor is always the same question: is this wear, or is this a fatigue crack? Get that wrong, and a welded repair can fail faster than the part it replaced.
When a spline shaft needs a second opinion — or a shutdown clock is already running — Houston Pump & Gear runs 24/7 emergency response across Texas and Louisiana, with mobile equipment pickup and a track record that includes returning a Lufkin S2212C gearbox to service in 72 hours.
Call 832-603-9663 for a repair estimate before that worn spline turns into a bigger teardown.
Frequently Asked Questions
How do I determine spline shaft size?
Measure shaft diameter, number of splines, tooth width, and pitch against OEM drawings, or verify with a spline gauge or comparator. Outside diameter alone doesn't fully specify a spline.
What are the different types of splines?
Common forms include parallel/straight-sided and involute splines, with helical variants and serrations governed under separate standards. Involute splines are the most widely used in industrial power transmission.
Can a welded or repaired spline shaft be as strong as a new one?
A properly executed weld repair with correct heat treatment and NDT can restore functional strength for service. It generally won't fully match a new OEM shaft's fatigue life, so critical applications still favor replacement.
What welding process works best for repairing shaft splines?
Processes like TIG and submerged arc welding have a long track record on large rotating shafts, though the right choice depends on the shaft's material, size, and precision requirements. A qualified shop selects and qualifies the process before starting.
How much does spline shaft repair typically cost compared to replacement?
Repair is usually a fraction of replacement cost for wear-related damage; overhaul work is commonly 40-50% less than buying new. Replacement becomes more cost-effective once cracking, long lead times, or safety-critical use enter the picture.
How quickly can an emergency spline shaft repair be completed?
Turnaround depends on damage severity and shaft complexity: minor repairs may take a few days, while a full rebuild can take one to two weeks. Houston Pump & Gear's 72-hour emergency turnaround on a Lufkin S2212C gearbox shows what 24/7 response can deliver for critical equipment.