
That reliability has a shelf life. Screws wear, bearings score, seals degrade, and misalignment creeps in over months of continuous duty. Add contamination or operating conditions that drift outside the pump's design envelope, and failure becomes a matter of when, not if.
This guide covers the most common screw pump problems, a step-by-step approach to diagnosing and repairing them, how to decide between fixing and replacing a unit, and when it makes sense to call in a specialized repair provider.
Key Takeaways
- Most screw pump problems fall into four categories: low flow, cavitation/noise, seal leaks, and excessive wear or overheating
- Catching issues early usually means a repair; casing damage or repeat failures often point toward replacement
- Correct diagnosis before teardown prevents replacing the wrong part and repeating the same failure
- Post-repair load testing is non-negotiable, especially for safety-critical power plant equipment
- Recurring failures despite proper maintenance usually signal a pump that's undersized or misapplied
What Is a Screw Pump?
A screw pump is a positive displacement pump. Instead of using an impeller to create centrifugal force, one or more intermeshing rotating screws move fluid axially from suction to discharge inside a close-tolerance casing.
Two configurations dominate industrial service:
- Three-screw design: A driven power rotor and two idler rotors form the pumping geometry, with hydraulic balancing limiting axial thrust
- Twin-screw design: Timed, noncontacting screw profiles handle everything from thin liquids to heavy oil, bitumen, and molasses without metal-to-metal contact
Because the cavities open and close smoothly as the screws rotate, screw pumps deliver low-pulsation, low-shear flow. That makes them a better fit than centrifugal pumps for viscous, abrasive, or multiphase liquids. Most designs are also self-priming and tolerant of entrained gas.
There's a tradeoff. Internal clearances that allow this smooth operation also permit some fluid slip. At lower viscosities, slip increases and volumetric efficiency drops, according to Pumps & Systems' 2022 overview of screw pump applications.
Even so, every screw pump is a mechanical system with wearing parts—screws, bearings, seals, and timing gears—that degrade over time.
Common Problems With Screw Pumps
Most screw pump failures aren't random. They follow patterns tied to wear, suction conditions, or contamination, and they get expensive fast when left unaddressed.
Unplanned downtime costs the world's 500 largest companies roughly $1.4 trillion annually, equal to 11% of revenue, according to Siemens' 2024 downtime survey. Screw pumps are a recurring contributor when those issues go unchecked.
Loss of Flow or Low Capacity
Symptoms: Reduced output, inconsistent discharge pressure, or a pump that runs but never hits rated flow.
Likely causes:
- Insufficient NPSH (net positive suction head)
- Worn screws increasing internal slippage
- Blocked suction strainer
- Incorrect pump speed
Cavitation, Noise, or Vibration
Symptoms: Rattling, knocking, or grinding sounds; vibration near the suction side; fluctuating pressure readings.
Likely causes:
- Insufficient suction pressure
- Air or gas ingress
- Fluid viscosity or temperature outside the pump's design range
Leaks at Shaft Seals or Casing
Symptoms: Visible fluid at the seal area or baseplate, gradual lubricant loss, or a pump running dry.
Likely causes:
- Worn mechanical seals or packing
- Loose fittings
- Casing corrosion or erosion
Excessive Wear or Overheating
Symptoms: Metal flakes in the lubricant, shrinking service intervals, a hot casing or gearbox, high motor amp draw.
Likely causes:
- Abrasive particles in the fluid
- Misalignment
- Incorrect lubrication
- Pump speed set too high for the application

Root Causes & What Happens If Issues Are Ignored
Those symptoms usually trace back to a few real-world conditions:
- Running outside rated speed, pressure, or viscosity
- Exposure to abrasive, corrosive, or high-temperature fluids
- Improper installation, misalignment, or piping strain on the casing
- Skipped lubrication, inspection, or seal replacement schedules
Ignore these long enough, and the consequences compound:
- Every hour a worn screw set runs, energy cost per unit pumped climbs
- Downstream operations lose steady flow and start seeing quality variance
- Seal or casing leaks can trigger safety or environmental violations
- In continuous industrial or power plant processes, one failed pump can shut down an entire line
Catching a worn seal early is a maintenance task. Catching it after it's flooded a bearing housing is an emergency repair with a much longer bill attached.
How to Fix a Screw Pump (Step-by-Step)
Jumping straight into a teardown before confirming the actual problem is how technicians end up replacing the wrong part, twice. The process below isolates the root cause first, then applies a targeted fix so the pump returns to service and stays reliable.
Step 1: Identify the Exact Problem
Start by logging what's actually happening:
- Visible symptoms: leaks, unusual noise, vibration, overheating, or a drop in flow/pressure
- Timing: does it happen at startup, under load, or during continuous run
- Recent changes to fluid type, speed, or process conditions
- Gauge readings, amp draw, and alarm/trip history
Step 2: Confirm the Root Cause Category
Every screw pump problem falls into one of three buckets:
- Mechanical — screws, bearings, seals
- Drive-related — motor, coupling, speed setting
- Process/operational — viscosity, NPSH, contamination
Rule out external factors first. Check suction piping restrictions, valve positions, and tank levels before you ever open the pump casing. This step alone prevents a lot of unnecessary teardown.
Step 3: Apply the Targeted Fix
Match the fix to the root-cause bucket—this choice drives most of your repair cost and turnaround time.
If the issue is mechanical: Common wear points include screw sets, bearings, shaft seals, and coupling alignment.
- Replace screws as a matched set, never individually
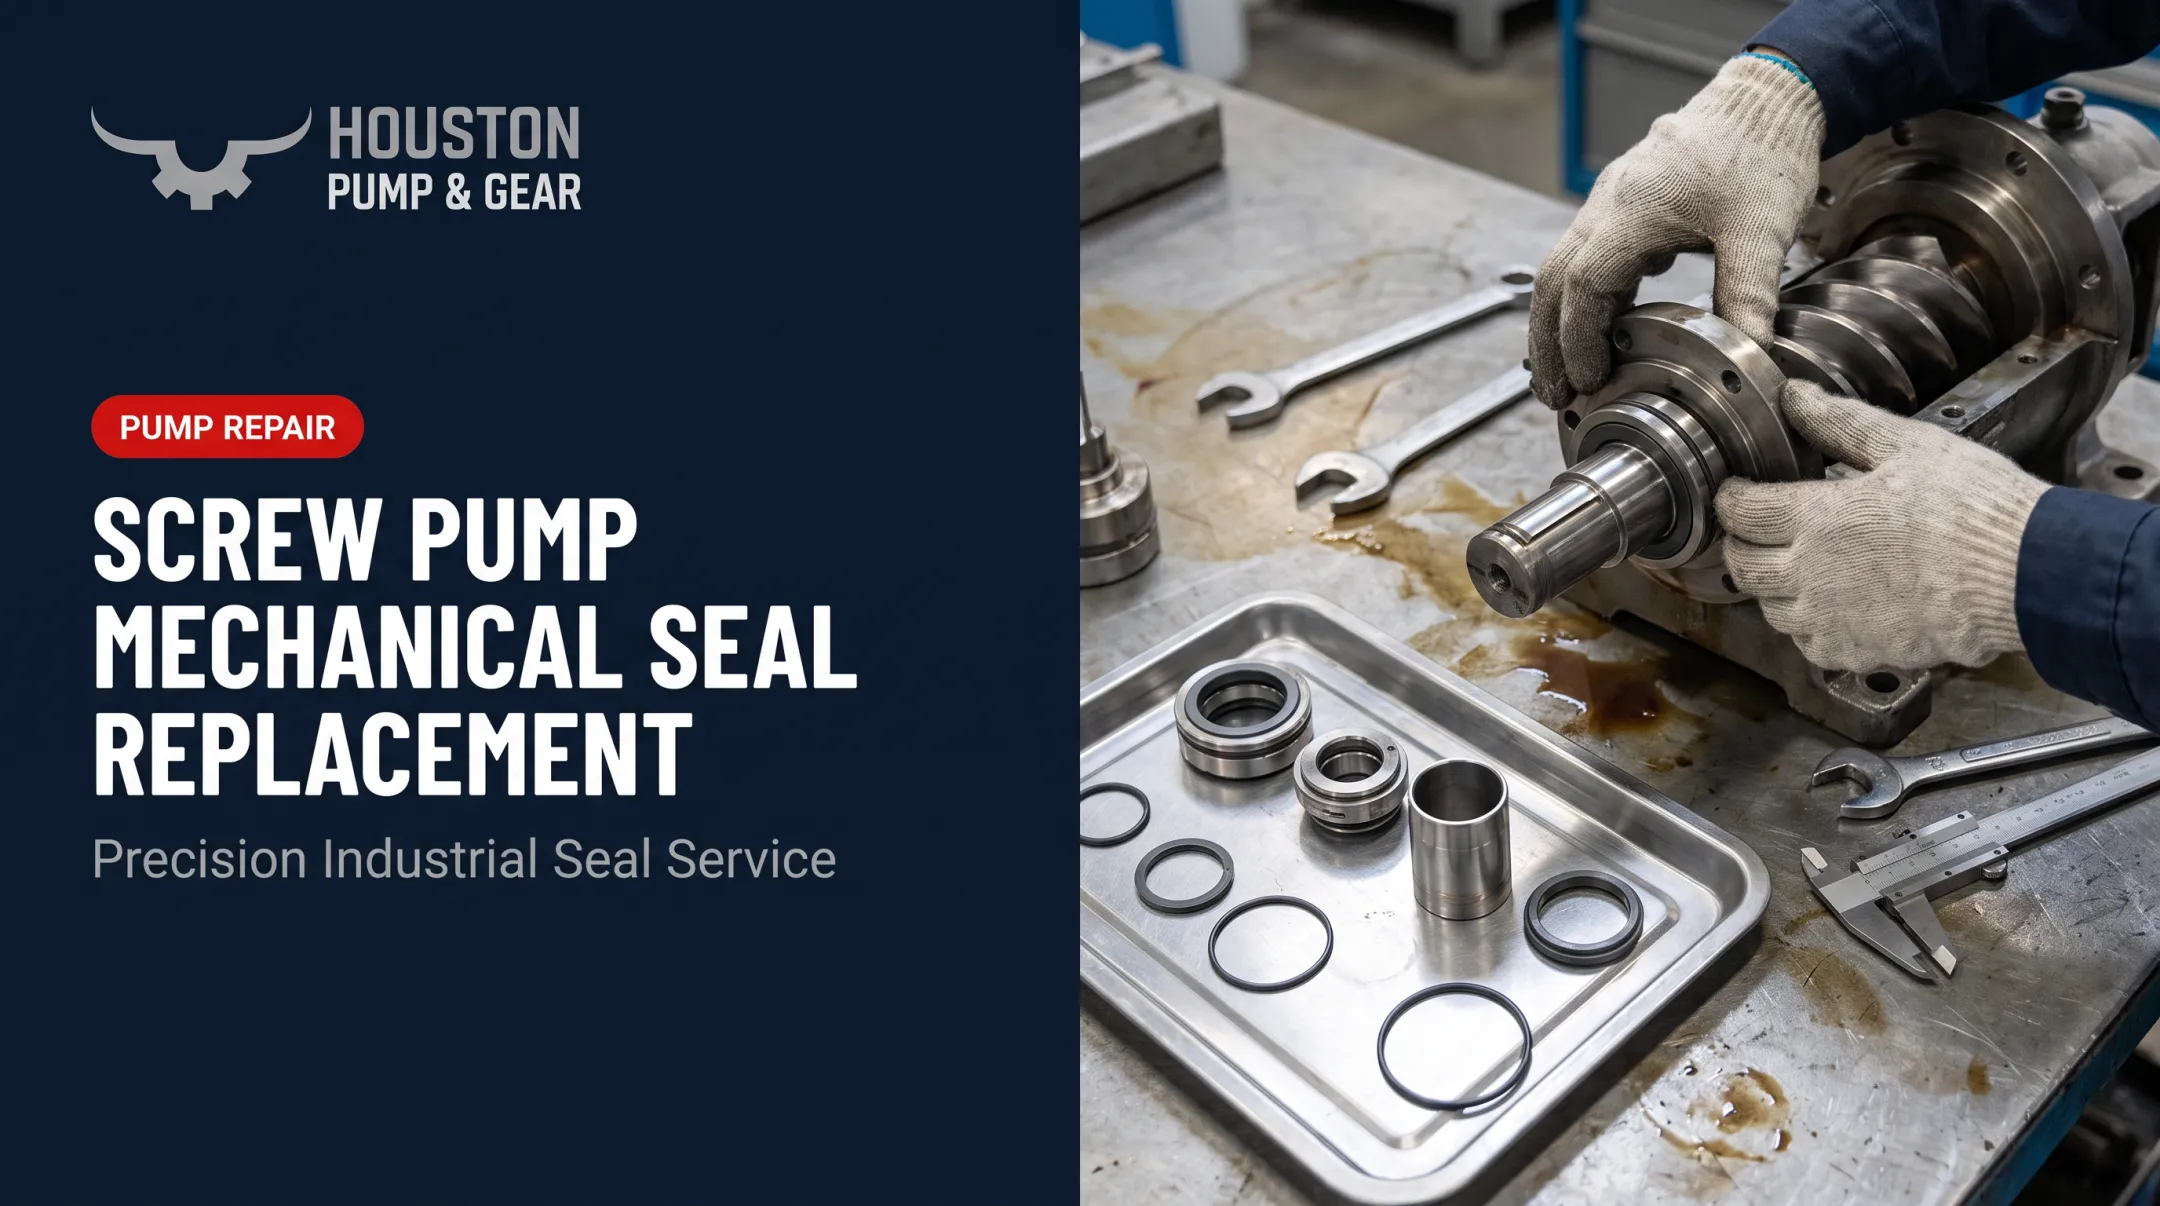
- Resleeve worn journals and install new mechanical seals
- Realign the coupling to spec
- Verify internal clearances against OEM tolerances and confirm gear timing before reassembly
If the issue is drive or electrical:
- Check motor amp draw against nameplate rating
- Inspect belt tension or coupling condition
- Verify the VFD is programmed for correct speed
- Confirm rotation direction matches the nameplate arrow before restart
If the issue is process or operational:
- Adjust pump speed, heat or dilute the fluid, or resize suction piping as needed
- Install or clean suction strainers to eliminate contamination
- Document the correction so operating parameters stay within the pump's original design envelope going forward
Step 4: Test and Validate the Repair
Run the pump under normal and peak load, watching flow, discharge pressure, and amp draw against known benchmarks. Check for any recurrence of noise or vibration on the initial run. Keep a short monitoring window afterward to confirm it holds under load.
For emergency or safety-critical repairs at power plants and heavy industrial sites, Houston Pump & Gear validates every repaired unit under load before it goes back into service. That's the same standard used to restore a client's equipment from an emergency shutdown within 72 hours of pickup.

When Should You Fix vs Replace a Screw Pump?
Repair cost, part availability, and remaining service life all weigh against downtime risk. Use the scenarios below to decide which path fits your unit.
Isolated Wear on Screws or Seals
Fix: Replace the screw set or seals if the casing and bearings remain within tolerance and downtime can be kept short.
Replace: If this same wear pattern recurs repeatedly despite proper maintenance, the pump may be mismatched to the application.
Casing or Trough Erosion/Corrosion
Fix: Casings can often be resleeved, relined, or recoated if structural integrity remains intact.
Replace: If erosion or corrosion has compromised wall thickness or structural strength, repair isn't a safe option anymore.
Aging Pump Nearing End of Rated Life
Fix: Rehabilitating an older unit with new bearings, reconditioned screws, and updated seals can cost a fraction of a new pump.
A 2025 field overhaul documented by Westpower shows the upside: two large twin-screw pipeline pumps finished a bearing, seal, and coupling overhaul in 7 days instead of the estimated 19, saving roughly $167,000 against that original estimate.
Replace: A newer, higher-efficiency model may be worth the investment if efficiency losses are significant or the unit is a poor fit for the duty. Scarce OEM parts alone do not force replacement when reverse engineering and custom machining can restore critical components.
Repeated Failures Despite Prior Repairs
Fix: If failures trace back to a correctable operational cause, such as undersized suction piping, address that root cause instead of the pump.
Replace: If bearing or seal failures keep recurring, the pump may be fundamentally undersized or misapplied for the process.
Common Mistakes to Avoid & Preventive Maintenance
Mistakes That Cause Repeat Failures
- Replacing parts without confirming the root cause first
- Skipping post-repair load testing before returning the pump to full service
- Using non-OEM-spec or mismatched screw sets that throw off clearances and accelerate wear
- Ignoring lockout/tagout and pressure-relief procedures during teardown
Preventive Measures Worth Building Into Your Routine
- Schedule routine inspections of flow, pressure, vibration, and lubricant condition per OEM intervals
- Follow a structured maintenance calendar for oil changes, seal checks, and bearing inspections
- Keep operating conditions (viscosity, temperature, suction head) within the pump's original design parameters
- Train operators to recognize early warning signs and log abnormal readings for faster diagnosis

Most screw pump issues are fixable when caught early. Correct diagnosis prevents wasted repair spend, and knowing when to fix versus replace protects your uptime.
For industrial and power plant operators across Texas and Louisiana, Houston Pump & Gear offers 24/7 emergency response and mobile pickup to get equipment back into service without unnecessary delay.
Frequently Asked Questions
What is the purpose of a screw pump?
A screw pump moves fluid using one or more rotating screws, providing smooth, pulsation-free transfer of viscous, abrasive, or multiphase liquids. Common applications include oil & gas, wastewater, and power generation.
What are the main parts of a screw pump?
The core components are the screws or rotors, the casing (or trough), bearings, shaft seals, and the synchronizing or timing gears that connect to the drive.
Can a screw pump be repaired, or does it need to be replaced?
Most wear and seal issues are repairable if caught early. Structural casing damage or repeated failures despite proper repairs typically call for replacement instead.
What causes a screw pump to lose flow or pressure?
Common causes include worn screws increasing internal slippage, insufficient suction pressure or NPSH, a blocked strainer, or incorrect speed or fluid viscosity.
How long does a typical screw pump repair take?
Timelines vary with severity, from a few days for seal or part replacement to longer for a full overhaul. Emergency providers like Houston Pump & Gear can offer rapid turnaround for critical failures.
How often should a screw pump be inspected or serviced?
Match service intervals to duty severity:
- Daily: functional checks
- Monthly to quarterly: seal and bearing inspections
- Annually or per OEM schedule: full teardown