
Seal problems build up over time from routine wear, shaft misalignment, dry running, or exposure to harsh chemicals. In demanding industrial environments, these stresses compound quickly. This guide covers the most common seal failures, a step-by-step repair process, how to decide between fixing and replacing, and when it's time to call in a professional emergency repair team.
TL;DR
- Leaking, cracked faces, and misalignment-driven wear are the three most common pump seal problems
- Some seals can be repaired on-site; cracked or chipped faces almost always require full replacement
- Diagnose before you touch the seal: symptom → root cause → fix → validate
- Critical power-plant and heavy-industry equipment needs 24/7 emergency intervention when seal failure risks extended downtime
What Is a Pump Seal?
A mechanical seal stops fluid from leaking along a pump's rotating shaft. Two lapped, polished faces press together under axial force to form a barrier between the pump's static casing and the shaft side.
How the seal works:
- A rotating ring spins with the shaft
- A stationary seat stays fixed in the pump housing
- The faces slide against each other under load, sealing without packing the shaft
AESSEAL notes this two-ring design is the core barrier in most industrial pumps.
Treat a mechanical seal as a wear component, not a permanent fixture. Like brake pads, it degrades with use and needs routine inspection. Skip that check, and small wear becomes a major leak.

Common Problems With Pump Seals
Most seal failures follow diagnosable patterns. Catch these signs early and you can schedule the repair before a full shutdown.
Visible Leaking Around the Shaft
- Symptoms: Dripping or spraying at the seal plate or gland area
- Likely cause: Worn or scratched seal faces, or degraded elastomers that no longer hold their shape
Cracked or Chipped Seal Faces
- Symptoms: A sudden leak right after startup, often paired with a grinding noise
- Likely cause: Dry running or thermal shock: the faces overheated without lubrication and cracked
Premature Seal Failure (Weeks After Install)
- Symptoms: A brand-new seal starts leaking again within weeks
- Likely cause: Shaft misalignment or incorrect spring compression during installation
Excessive Vibration or Noise at the Seal Area
- Symptoms: Squealing, chirping, or a bearing that runs hotter than usual
- Likely cause: Shaft runout, worn bearings, or particulate contamination in the seal chamber

Why Pump Seals Fail (Root Causes)
Seal failures trace back to real operating conditions, not bad luck. Most fall into four categories:
- Operational stress: dead-heading, cavitation, running the pump dry
- Environmental exposure: aggressive chemicals, high heat, abrasive particulates
- Improper installation: contaminated faces, wrong torque, misaligned shafts
- Skipped maintenance: no inspection schedule, no early warning system
Ignore these long enough, and the consequences stack up:
- Reduced pump efficiency and output
- Product contamination or quality problems
- Safety and compliance risks, especially in power plant settings
- Expensive, unplanned downtime
How to Fix Pump Seals (Step-by-Step)
Repairing a seal without finding the root cause almost guarantees a repeat failure. This process identifies the problem, isolates the cause, applies the right fix, and confirms it holds.
Step 1: Identify the Exact Problem
Start with observation:
- Note visible symptoms — dripping, spraying, grinding, overheating
- Track performance deviations like reduced flow or pressure loss
- Check vibration alarms or monitoring data if available
- Document when the leak happens: at startup, under load, or continuously
Step 2: Confirm the Root Cause Category
Sort the issue into one bucket:
- Mechanical — worn faces, misalignment, shaft runout
- Installation-related — contamination, wrong torque, incorrect seal size
- Environmental/operational — dry running, cavitation, chemical attack
Rule out external factors like piping strain or fluid incompatibility. Skip it, and you may replace the same seal three times for one unresolved problem.
Step 3: Fix the Pump Seal Based on the Root Cause
This is where most repair mistakes happen, because the fix depends entirely on what broke.
If it's mechanical wear:
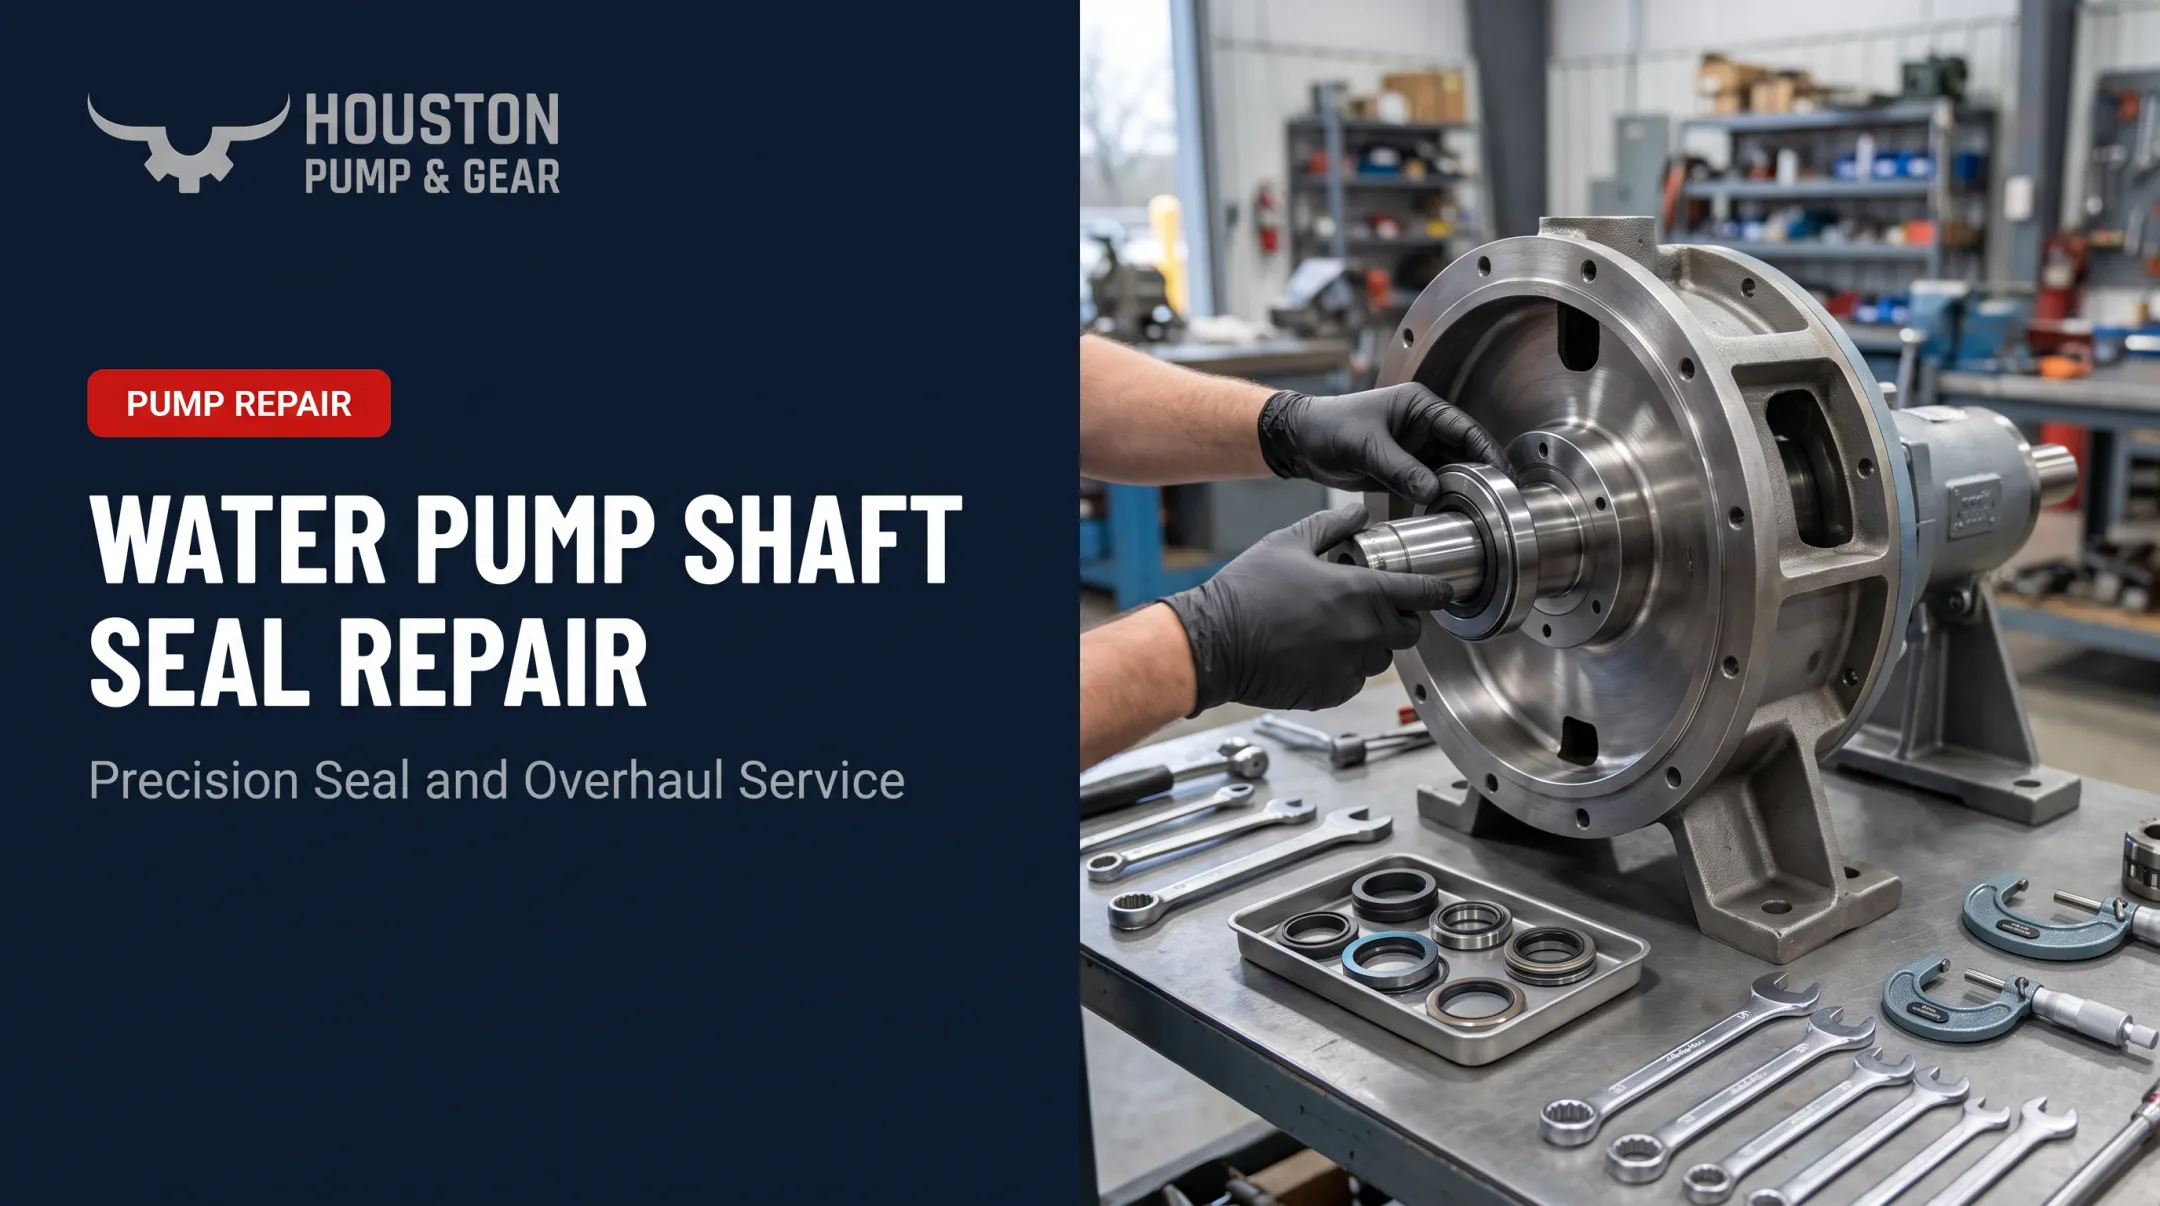
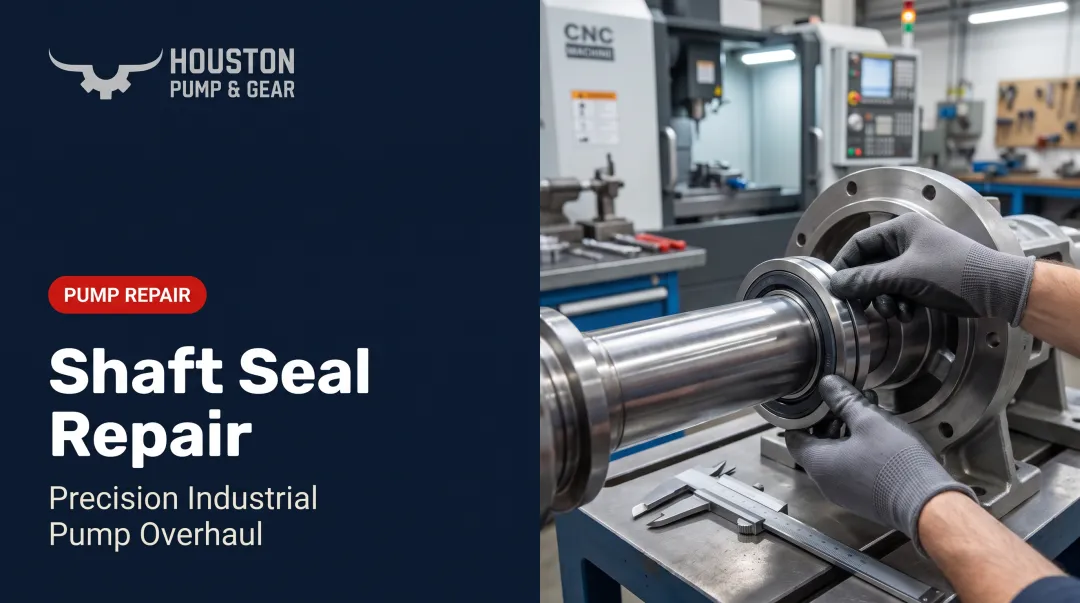
- Disassemble the wet end and remove the old rotary and stationary seat
- Inspect the shaft for runout before ordering a replacement
- Verify shaft diameter, surface finish, and seal chamber cleanliness before reassembly
If it's an installation or alignment issue:
- Measure shaft runout and confirm alignment is within tolerance
- Correct the coupling if it is out of spec
- Reset spring compression to the manufacturer specification
If it's environmental or operational:
- Install dry-run protection and fit a suction strainer where needed
- Select an elastomer rated for the actual fluid chemistry
- Adjust operating procedures so the same failure mode cannot repeat
Step 4: Test and Validate the Fix
- Vent the pump casing and prime it fully before startup (a dry restart can destroy a new seal on day one)
- Run the pump under normal and peak load, watching for leaks, noise, or vibration
- Confirm flow, pressure, and temperature match expected benchmarks
- Monitor for several days to confirm the fix actually held

When in-house diagnosis is not practical on complex pump or gearbox systems, Houston Pump & Gear provides 24/7 emergency response with rapid turnaround. Service includes full disassembly, cleaning, a detailed inspection report, and a cost estimate before repair begins.
When Should You Fix vs Replace a Pump Seal?
The right call depends on cost, risk, and how much downtime you can absorb.
| Scenario | Fix | Replace |
|---|---|---|
| Minor leak caught early, faces intact | Clean and re-seat existing components | Not needed unless faces show damage |
| Cracked or chipped faces from dry running | Not viable: faces can't be repaired | Full seal replacement required |
| Repeated failures on same pump | Address root cause (alignment, bearings) | Consider a cartridge seal upgrade |
| Critical power plant equipment | Only if downtime window allows safe repair | Full replacement via emergency service |
With the right tools on hand, a straightforward seal replacement can often be completed in a single afternoon. Critical equipment is a different call: a rushed on-site fix that fails again in a week costs more than doing the job right the first time.

Common Mistakes to Avoid When Fixing Pump Seals
A clean install still fails early if you skip diagnosis, reuse worn parts, or rush safety steps. Avoid these mistakes:
- Treating symptoms, not causes: re-tightening or re-sealing without finding why the seal failed
- Skipping post-repair validation: restarting without a controlled test run for leaks and vibration
- Reusing old gaskets or O-rings: or fitting a seal that does not match shaft size and fluid type
- Ignoring lockout/tagout and pressure isolation: working on the pump before energy and pressure are controlled
Preventive Measures to Avoid Future Issues
Prevention costs far less than emergency repair. Build these habits into your routine:
- Inspect the seal area regularly for early signs of leaking
- Schedule alignment checks and bearing maintenance on a fixed calendar
- Maintain proper operating conditions — avoid dead-heading and dry running
- Train staff and keep documented maintenance logs for critical pump assets
Annual preventive maintenance typically costs a fraction of a failure-driven overhaul once you factor in lost production. Follow manufacturer service intervals and you catch most seal problems before they force a shutdown.
Conclusion
Most pump seal issues are fixable if you catch them early and diagnose the actual root cause. Slapping in a replacement without understanding why the old one failed just buys you a few more weeks before the same problem returns.
Knowing when to fix versus replace saves both cost and downtime. For emergencies, Houston Pump & Gear's 24/7 team handles rapid, reliable pump and gearbox repair across Texas and Louisiana — from routine seal swaps to full emergency turnarounds.
Frequently Asked Questions
How much does pump seal repair cost?
Costs vary by seal type, pump size, and failure severity. Industrial emergency repairs typically cost more than routine part swaps but far less than full pump replacement.
Can you replace just the pump seal?
In most cases, yes — only the seal plus gaskets and O-rings need replacing, not the entire pump. Full pump replacement is rarely necessary for a seal issue alone.
What causes a pump seal to leak?
Worn or scratched faces, shaft misalignment, dry running, and chemical or particulate damage are the leading causes. Degraded elastomers also contribute over time.
How do I know if my pump seal has failed?
Visible leaking at the seal plate, unusual squealing or grinding noise, and elevated vibration or bearing temperature are the key warning signs.
How long does a mechanical pump seal last?
Typical lifespans run 2 to 6 years, depending on alignment accuracy, fluid conditions, and how consistently maintenance is performed.
Should I repair or replace a leaking industrial pump seal myself?
Simple pumps may be DIY-friendly with the right tools. Critical industrial and power plant equipment should use professional emergency repair to avoid extended downtime and secondary damage.