
These pumps take a beating from abrasive solids, continuous run cycles, and rough field conditions. Add in gaps in maintenance schedules, and failure becomes a matter of when, not if. This guide walks through the most common dewatering pump problems, how to diagnose and fix them, and when it's smarter to replace the unit entirely. We'll also cover when to bring in a specialist like Houston Pump & Gear.
TL;DR
- Common failure points: clogging, impeller wear, seal leaks, and motor/electrical faults
- Early catch = fixable: most issues can be repaired when diagnosed correctly
- Diagnose before replacing: blind part swaps waste time and money
- Call a professional for repeat failures, gearbox involvement, or an emergency shutdown
What Is a Dewatering Pump?
A dewatering pump removes unwanted groundwater, stormwater, or slurry from a work site, excavation, or industrial process. Without it, water intrusion halts progress, damages equipment, and creates safety risks.
These pumps typically come in three designs:
- Submersible — installed directly in the water source, common for construction and industrial dewatering
- Trash pumps — built for large solids and abrasive material, with some models handling solids up to 3 inches according to Thompson Pump's specifications
- Self-priming — used when the pump sits above the water line and needs to establish suction
All three endure harsh duty cycles. They degrade from constant exposure to grit, moisture, and near-continuous operation. Routine repair and inspection keep dewatering pumps reliable when a site cannot afford downtime.

Common Problems With Dewatering Pumps
Most dewatering pump failures follow predictable patterns. Solids handling and field conditions drive the majority of issues.
Clogging or Obstruction
Symptoms:
- Reduced flow
- Straining or grinding noises
- Complete stoppage
Likely cause: debris, pebbles, or trash lodged in the impeller or suction hose.
Impeller Wear or Damage
Symptoms:
- Inefficient pumping
- Excessive vibration
- Higher-than-normal energy draw
Likely cause: abrasive solids gradually eroding or cracking the impeller. Once eroded or cracked, the impeller needs replacement, not patching.
Loss of Prime or Low Flow
Symptoms:
- Pump runs but doesn't move water
- Inconsistent output
Likely cause: air leaks in the suction line, worn seals, or suction lift beyond the pump's rated capacity.
Motor or Electrical Failure
Symptoms:
- Pump won't start
- Tripped breakers
- Overheating
Likely cause: power supply issues, worn windings, moisture intrusion, or a faulty control panel.

Why Dewatering Pumps Fail (Root Causes)
Failures rarely come out of nowhere. They usually trace back to a few preventable root causes:
- Operational stress from continuous 24/7 dewatering cycles on industrial and field operations
- Environmental exposure to mud, grit, and heavy solids that abrade internal components
- Improper pump selection: using a standard pump where a trash pump was needed, or vice versa
- Lack of preventive maintenance, letting small issues turn into major failures
Ignore these issues and the fallout compounds:
- Efficiency loss — higher energy use and weaker discharge performance
- Site disruption — flooding, stopped work, and missed production windows
- Safety and compliance exposure at power plants and heavy industry facilities
- Unplanned downtime and expensive emergency shutdowns
How to Fix a Dewatering Pump (Step-by-Step)
Skipping diagnosis and jumping straight to part-swapping is the fastest way to waste money. A structured four-step process isolates the root cause, applies the right fix, and confirms the pump holds under load.
Step 1: Identify the Exact Problem
- Observe visible symptoms: leaks, noise, vibration, overheating, loss of output
- Compare current performance against normal flow rate and pressure
- Check control panel alarms or indicator lights
- Note when the issue occurs — at startup, under load, or during continuous run
Step 2: Confirm the Root Cause Category
Classify the issue before touching a wrench:
- Mechanical, electrical, or environmental/operational
- Rule out external factors first — power supply problems or poor site setup
- Confirm the actual cause before replacing parts to avoid repeat failures and wasted cost
Step 3: Fix Based on the Identified Problem
Mechanical issues — worn impellers, damaged seals, or shaft misalignment are the usual suspects. Repair actions include:
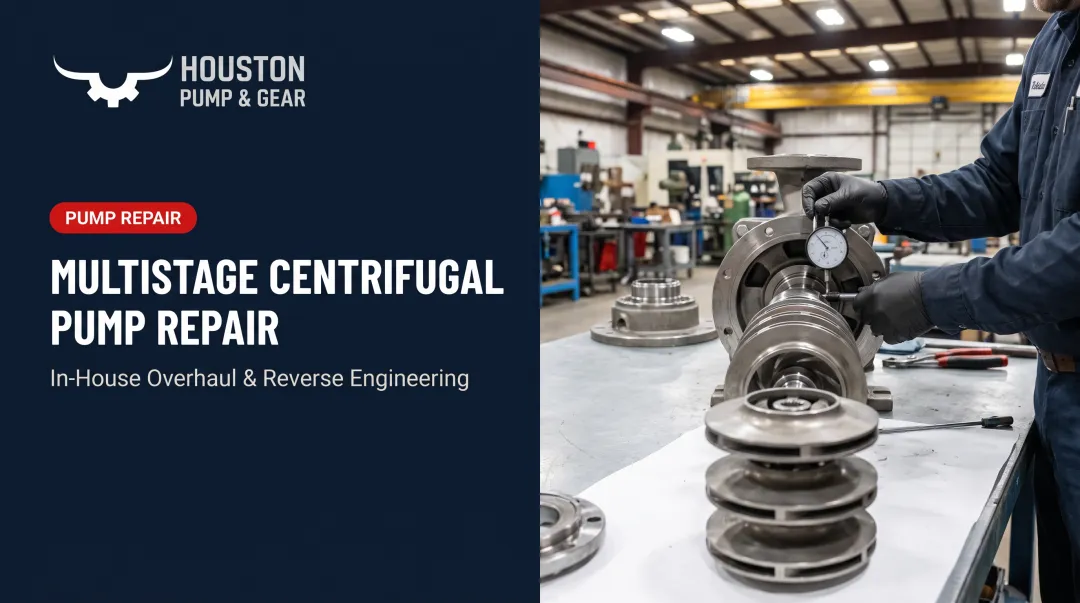
- Impeller replacement or repair to OEM specifications
- Mechanical seal replacement (clean the shaft and sealing chambers first, apply a thin lubricant film, then install the static ring and gland before the moving ring and spring)
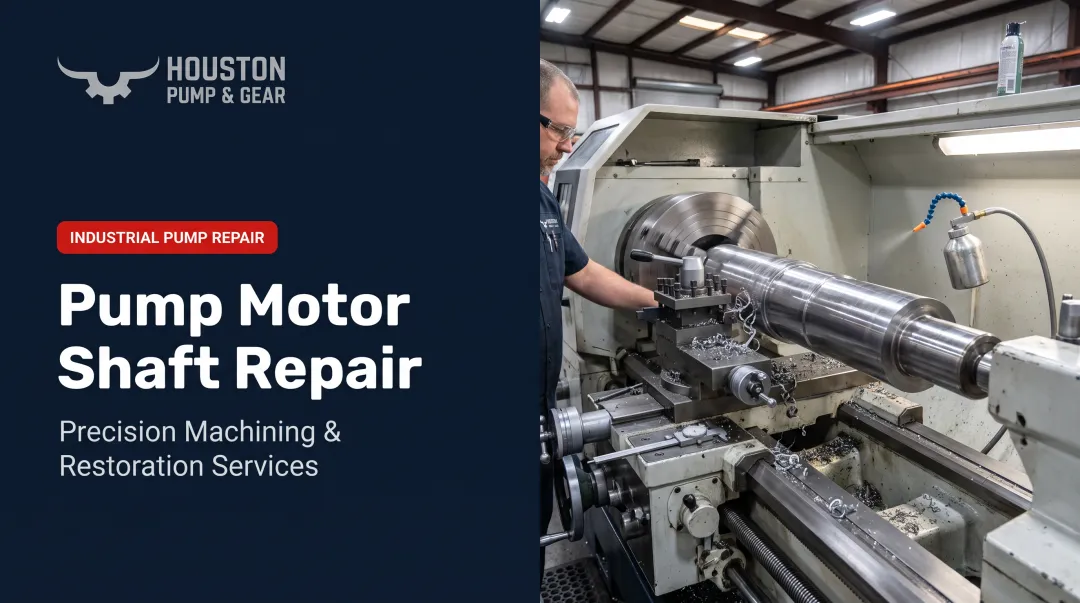
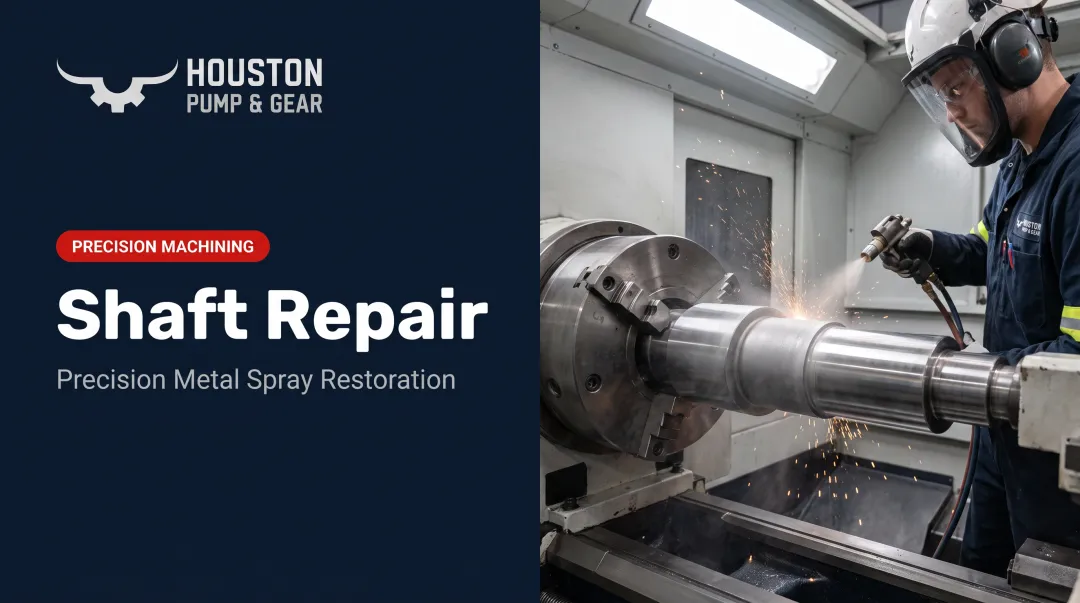
- Shaft realignment and dimensional restoration through precision machining
Before reassembly, check clearances, lubrication points, and fastener torque.
Electrical issues — motor windings, control panels, and wiring connections are common failure points:
- Inspect sensors and wiring connections
- Test insulation resistance and confirm voltage matches the nameplate rating
- Recalibrate or reset controls after repair
Environmental/operational factors — excessive solids, high suction lift, or poor site setup can mimic mechanical failure. Corrective actions include:
- Cleaning intake screens
- Repositioning the pump closer to the water source
- Adjusting the load to match rated capacity
Step 4: Test and Validate the Fix
Validate the repair before returning the pump to full service:
- Run under normal and peak dewatering loads for a couple of hours
- Measure vibration and temperature at multiple points with a vibration meter and infrared thermometer
- Compare readings against the manufacturer's benchmarks
- Watch for recurrence over a short trial period before full service

When Should You Fix vs Replace a Dewatering Pump?
The decision comes down to repair cost versus downtime risk and long-term performance.
| Scenario | Better Move | Why |
|---|---|---|
| Minor clog or worn seal on a newer pump | Fix | Cleaning or a seal swap restores function quickly |
| Cracked housing or burnt-out motor on an aging unit | Replace | Repair costs stack up and may not hold |
| Repeated failures on the same unit | Replace | Fixing again is a band-aid, not a solution |
| Critical power plant pump in emergency shutdown | Rapid repair | A fast turnaround avoids full replacement costs |
Repair generally wins when the casing, shaft, impeller, or other core components can be restored at a reasonable cost and the pump still meets system performance requirements. If one repair costs less than replacement and restores full function, fix it. If the same failure keeps coming back, replace the unit.
For critical equipment, speed matters more than a spreadsheet cost comparison. Houston Pump & Gear's 24/7 emergency service has returned power plant equipment to operation within 72 hours of shutdown, including a Lufkin S2212C gearbox repair for a returning client. That same rapid-response model is why repair often beats replacement on seriously damaged dewatering pumps when downtime is the real cost driver.

Common Mistakes to Avoid When Fixing Dewatering Pumps
These mistakes turn quick fixes into repeat failures and safety incidents:
- Treating symptoms instead of causes: chasing a noise without diagnosing the mechanical or electrical root issue leads to repeat visits
- Skipping post-repair testing: a pump that looks fixed on the bench can still fail under real load
- Using generic replacement parts: non-OEM components on specialized industrial units often cause premature failure
- Ignoring lockout/tagout procedures: unexpected startup or stored energy during field repairs is a documented hazard per OSHA's guidance on hazardous energy control
Preventive Measures to Avoid Future Issues
Preventive maintenance costs far less than emergency repair. Build these practices into every dewatering cycle:
- Inspect intake screens and impellers before and after major jobs
- Schedule lubrication and maintenance instead of running equipment to failure
- Match pump selection to site conditions, especially solids-heavy applications
- Train staff and keep 24/7 emergency support on call
Houston Pump & Gear's mobile field response team supports power plants and heavy industry clients with inspections, corrective maintenance, and emergency dispatch when equipment fails.
Conclusion
Most dewatering pump issues are fixable when they're diagnosed correctly and addressed before they escalate. Lasting repairs depend on correctly identifying the root cause before any parts are replaced.
Knowing when to repair versus replace, backed by a reliable emergency repair partner, saves money and keeps downtime to a minimum. Houston Pump & Gear works with power plants and heavy industry facilities running dewatering equipment nonstop, where that partnership can mean the difference between a quick fix and a costly shutdown.
Frequently Asked Questions
How much does it usually cost to fix a water pump?
Costs vary widely based on the issue. A seal replacement might run a few hundred dollars, while a motor rebuild or full overhaul can reach several thousand. Get an itemized inspection quote before assuming a price.
What is the most common reason for pump failure?
Clogging from solids and impeller wear are the most frequent culprits, especially in dewatering applications handling debris-laden water.
Can a dewatering pump be repaired on-site?
Many mechanical and electrical issues can be diagnosed and fixed on-site. Complex gearbox or motor issues typically require pickup and shop repair for proper diagnostics and precision machining.
How often should dewatering pumps be inspected?
Inspect before and after each major dewatering job, and follow a scheduled preventive maintenance program. Continuous or abrasive-duty pumps need more frequent checks than intermittent-use units.
What's the difference between a trash pump and a standard dewatering pump?
Trash pumps handle larger solids and debris, with some models rated for solids up to 3 inches. Standard dewatering pumps are built for cleaner water removal without heavy debris.
How fast can emergency dewatering pump repairs be completed?
With 24/7 emergency response and mobile field pickup, many critical dewatering pump repairs can be turned around within days. Houston Pump & Gear prioritizes same-day pickup and rapid shop turnaround to limit downtime for industrial and power plant operations.