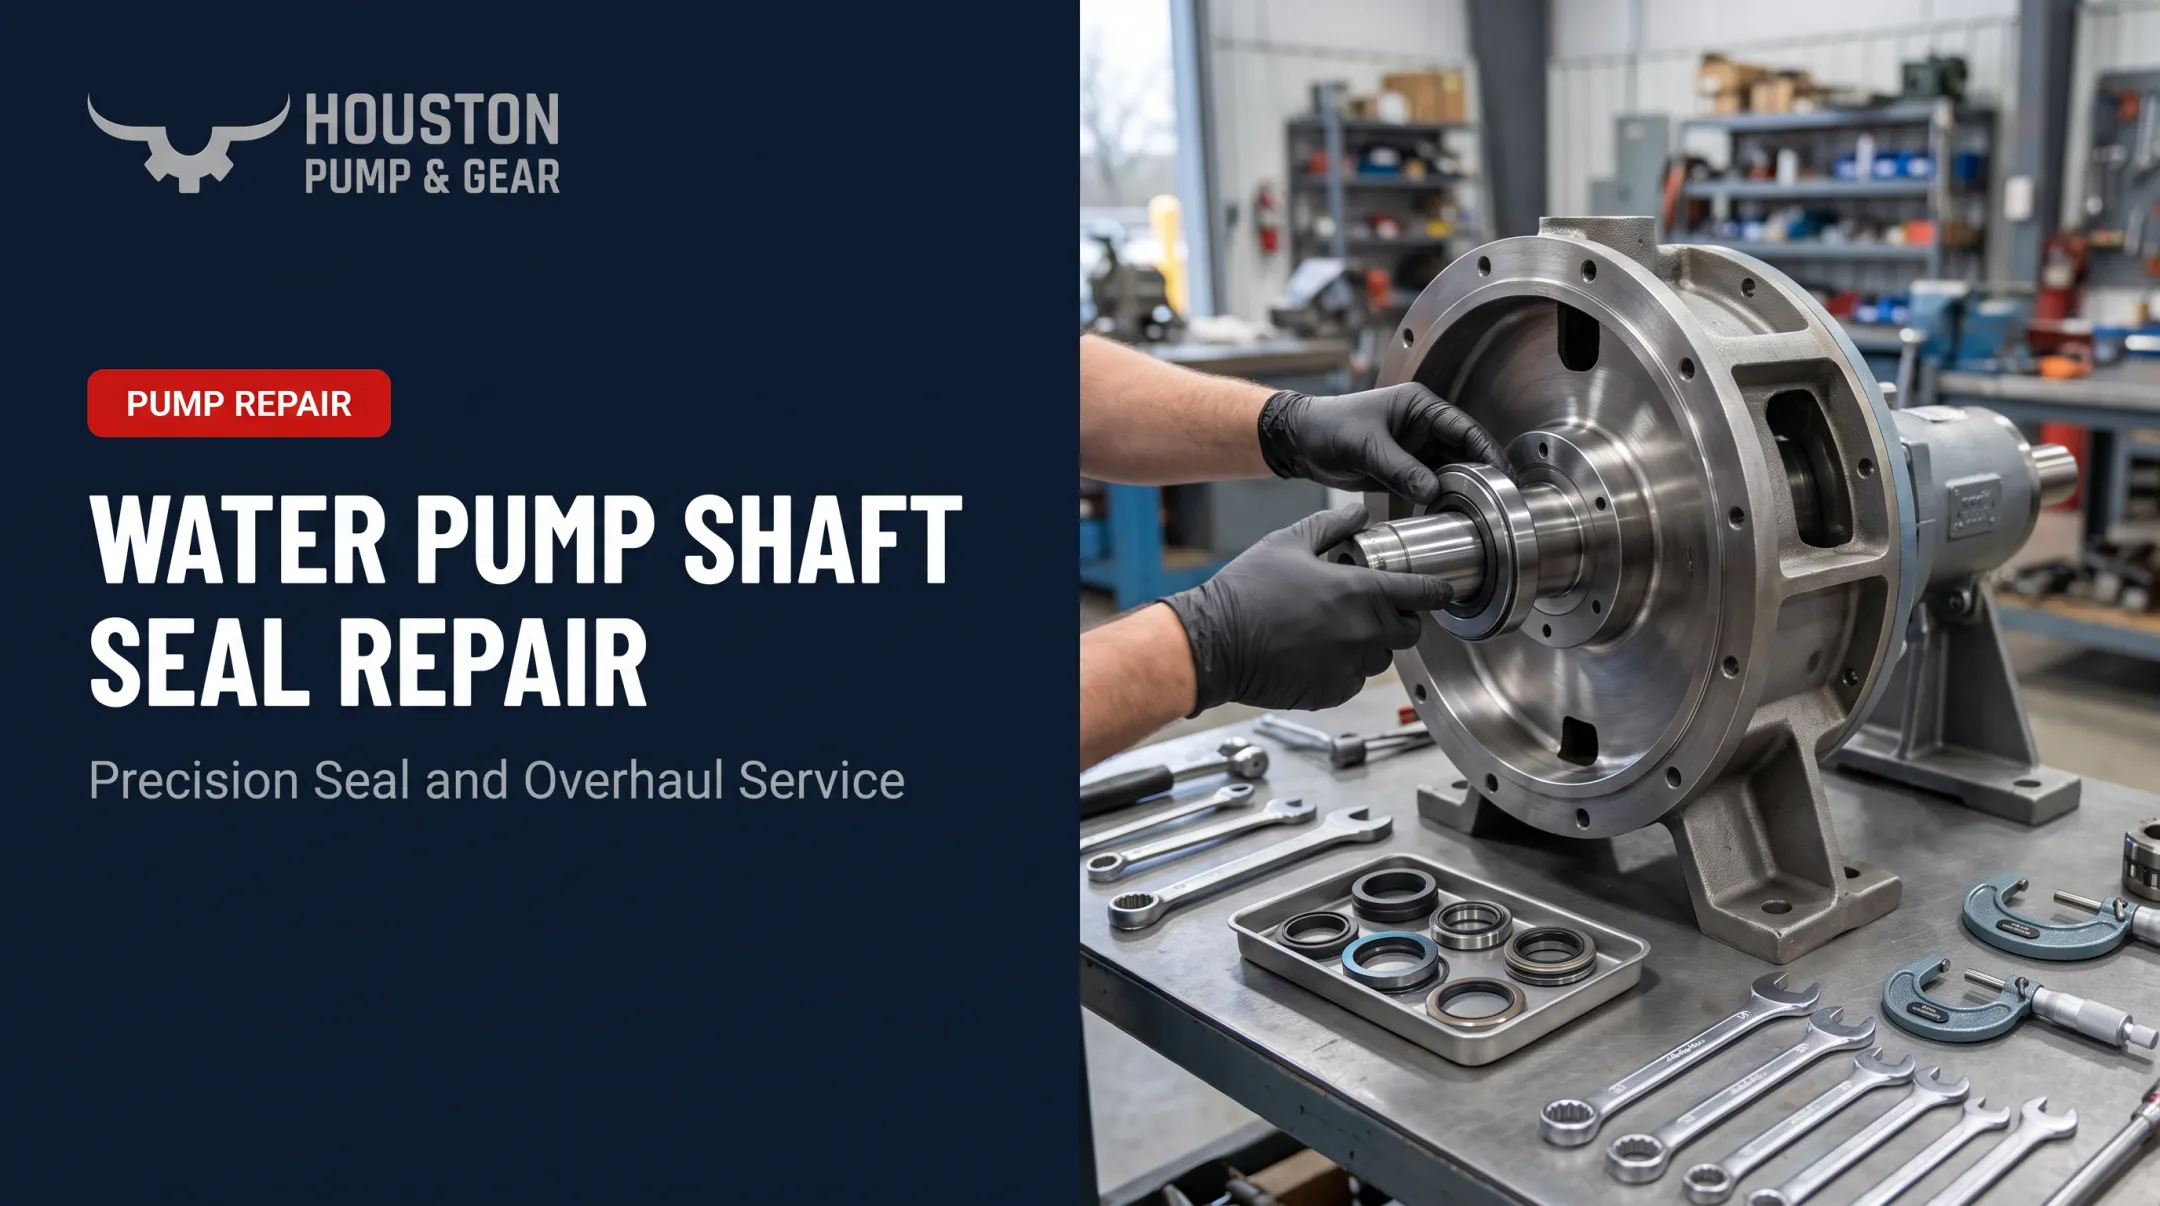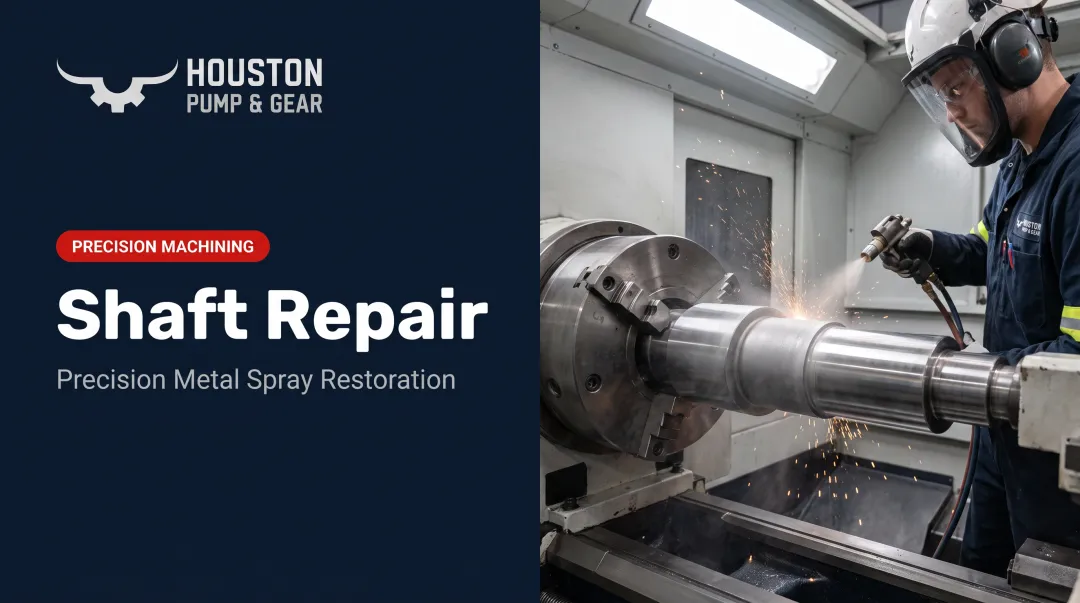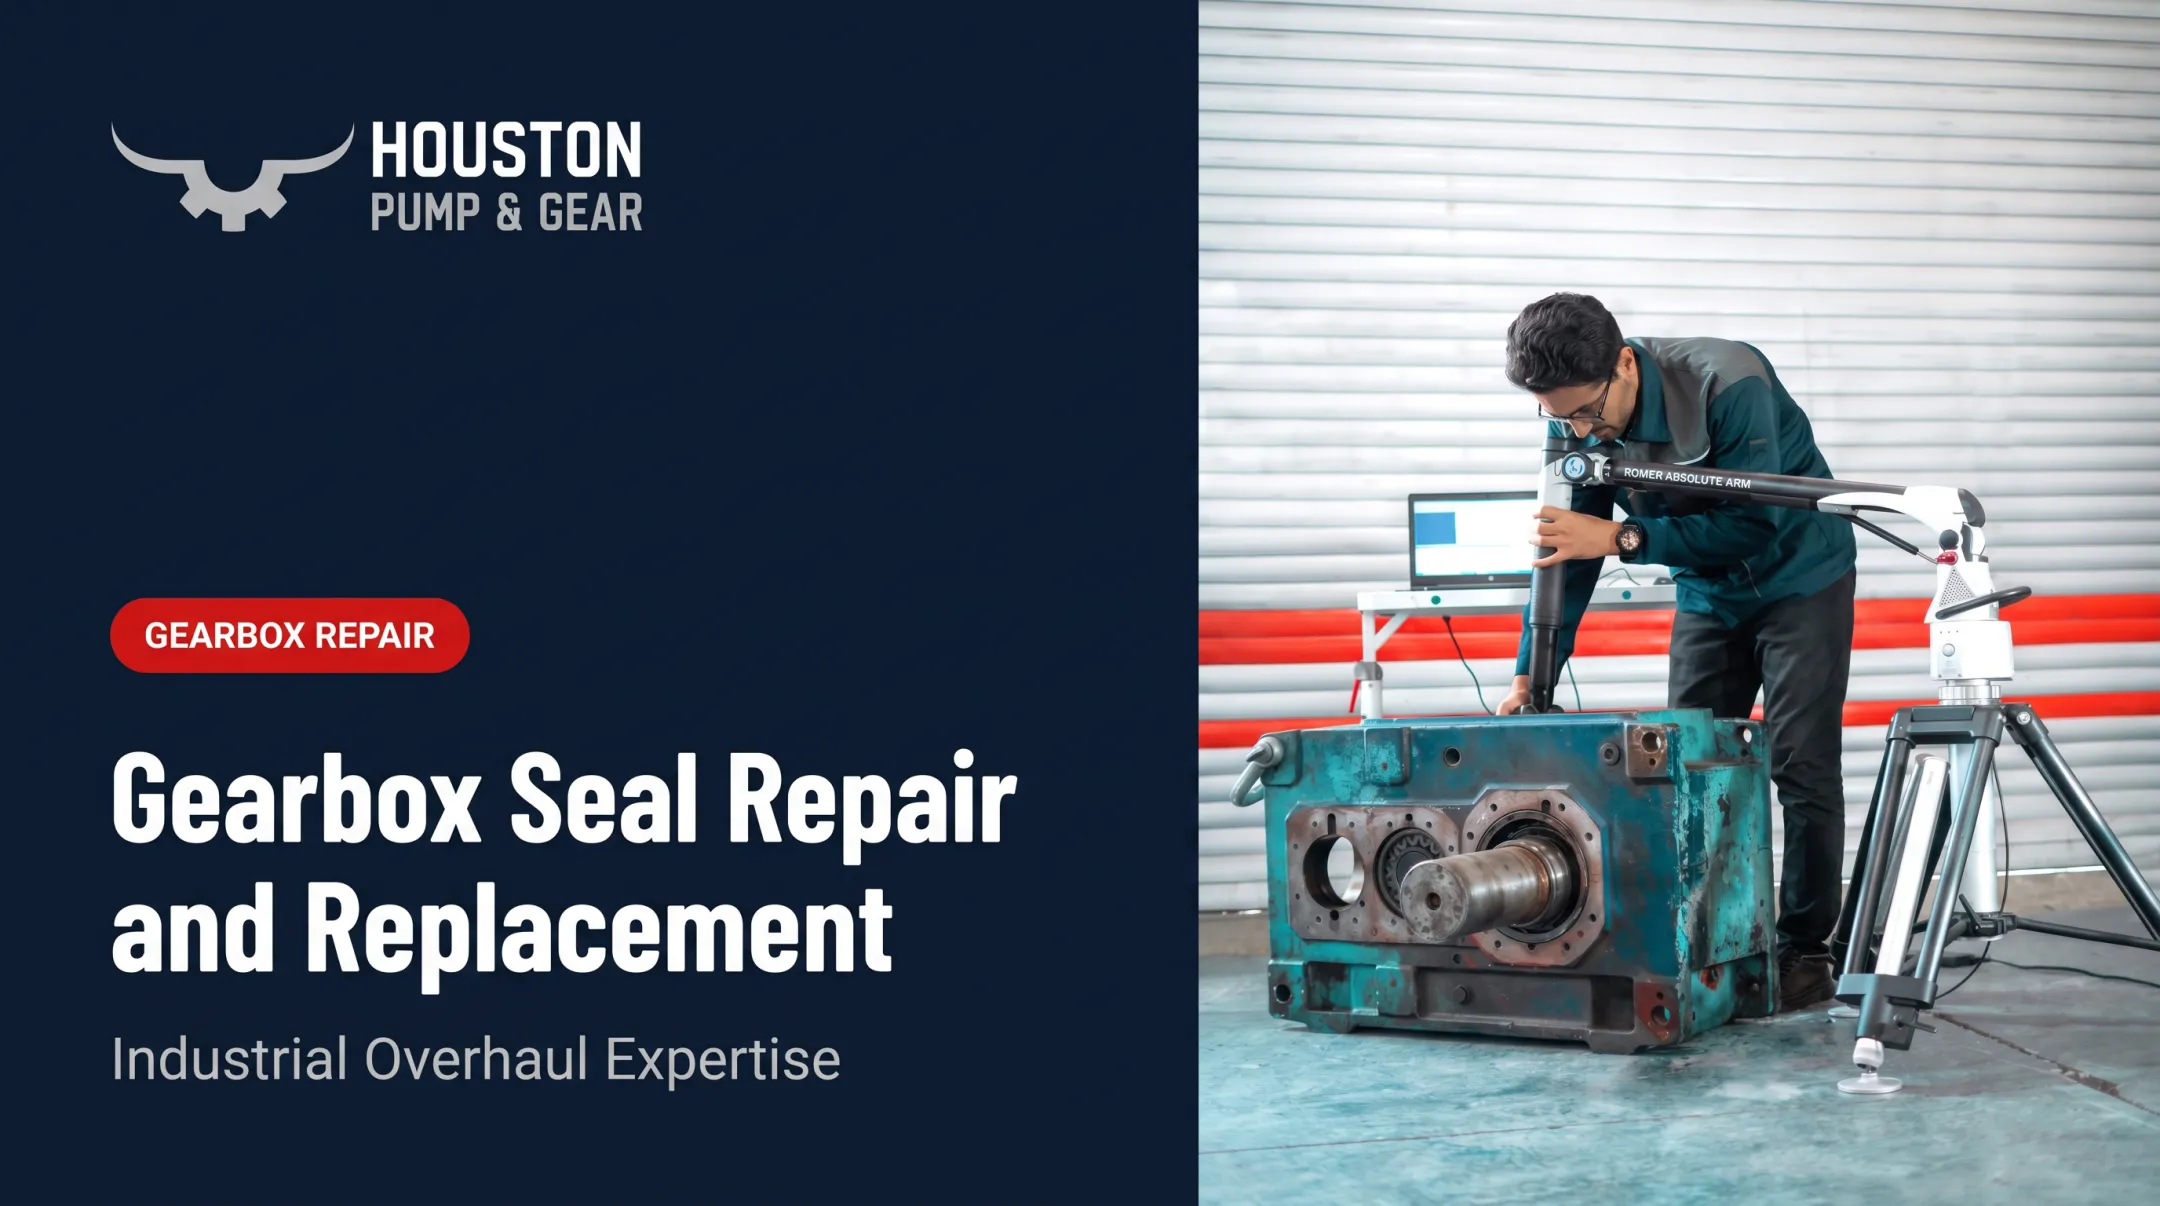

Shaft seal problems are one of the most common reasons pumps, gearboxes, and motors end up in the repair shop. Abrasive wear on the shaft, a rushed installation, contamination from a dusty plant floor, or simple lack of preventive maintenance are usually to blame. A $10 industrial seal can trigger a repair bill many times its price once you factor in stopping the line, disconnecting equipment, and reassembly, according to Pumps & Systems.
This guide walks through the common failure symptoms, the root causes behind them, a step-by-step repair process, when to repair versus replace, and when it's time to bring in a professional repair partner.
Key Takeaways
- Most seal failures trace back to a worn shaft, a degraded lip, bad installation, or contamination — not a defective new seal
- Repair sleeves and epoxy rebuilds fix many worn shafts in place, skipping full shaft replacement
- The repair process has four steps: diagnose, confirm root cause, apply the fix, then test
- Pumps and gearboxes at power plants gain the most from expert root-cause repair that cuts repeat failures and downtime
What Is a Shaft Seal?
A shaft seal, often called a radial lip seal, uses a spring-loaded elastomer lip pressed against a rotating shaft to hold lubricant in and keep dirt and moisture out. The seal case stays fixed in the housing bore while the lip flexes and follows the shaft as it turns.
ISO 6194 defines rotary shaft lip-type seals as components built for relatively low differential pressure applications, where the shaft rotates and the housing stays put. Inside a pump, gearbox, motor, or compressor, that lip is the only thing standing between the internal bearings and gears and a slow, expensive failure.
Here's the part most people miss: the seal isn't the only wearing part. The shaft surface it rides against wears too, and both degrade together over time. As Noria's Machinery Lubrication points out, a lip seal's primary purpose is to exclude contaminants while retaining lubricant. It can only do that job as well as the shaft surface underneath it allows.
That's why effective shaft seal repair addresses the full wear system: seal lip, shaft counterface, housing fit, and lubricant condition.
Common Shaft Seal Problems and Why They Fail
Shaft seal failures aren't random. They follow a handful of recognizable patterns, and identifying which one you're dealing with is half the job.
Grooved or Worn Shaft Surface
Symptoms:
- Steady oil leakage that won't stop, even with a new seal installed
- A fingernail catches on a visible groove where the seal lip rides
Likely cause: Abrasive dirt trapped under the seal lip acts like grinding paste, slowly cutting a wear track into the shaft.
Seal Lip Wear, Hardening, or Cracking
Symptoms:
- Leakage with no visible groove on the shaft
- Lip looks brittle, glazed, or cracked on close inspection
Likely cause: Heat exposure, chemical incompatibility with the operating fluid, or the material reaching the end of its service life.
Improper Installation or Misalignment
Symptoms:
- Leakage that shows up shortly after a brand-new seal goes in
Likely cause: A damaged lip from installation, incorrect seating depth, or shaft/housing misalignment that puts uneven pressure on the lip.
Contamination Ingress
Symptoms:
- Abrasive wear paired with visibly dirty or gritty lubricant
Likely cause: Inadequate dust-lip protection or poor filtration in a dusty, wet, or harsh environment.
Ignore any of these long enough, and you're not just replacing a seal anymore. Bearings run dry, gears lose lubrication, and efficiency drops. Left unchecked, the gearbox or pump shuts down unplanned—usually at the worst possible time.

How to Fix a Shaft Seal (Step-by-Step)
Jumping straight to a fix before confirming what actually failed is how repeat leaks happen. This process is built to find the real problem, apply the correct fix, and prove it holds before you walk away.
Step 1: Identify the Exact Problem
- Note the leak's location, rate, and any unusual noise or heat at the seal area
- Run a fingernail across the shaft to check for grooving, nicks, or burrs
- Inspect the seal lip for cracking, hardening, or visible damage
- Determine if the leak happens at startup, under load, or continuously
Step 2: Confirm the Root Cause
Measure the shaft diameter at three unworn points and average the readings to check for out-of-round wear. Don't swap the seal alone until you've ruled out the shaft surface as the real culprit. That's the single most common reason a "fixed" seal leaks again within weeks.
Step 3: Apply the Fix Based on the Root Cause
This is where most repair time and cost are decided, and it depends entirely on what's actually damaged.
If the shaft surface is grooved or worn: Install a thin-wall shaft repair sleeve or use a cold-cure epoxy technique to rebuild the surface without pulling the shaft. SKF's SPEEDI-SLEEVE, for example, is a 0.25 mm stainless sleeve pushed over the worn area with a mallet and installation tool. No machining or disassembly is required, according to SKF.
Check the repaired surface for burrs before mounting the new seal.
If the seal itself has failed: Replace it with a material matched to the fluid, temperature, and pressure — NBR, FKM, or PTFE, depending on the application. Get the seating depth and squareness right, and lubricate the lip during installation.
If it's environmental or operational: Add a dust lip, upgrade filtration, correct any misalignment, and confirm operating speed and pressure fall within the seal's rated limits.
Step 4: Test and Validate the Repair
Run the equipment under normal and peak load while watching for leaks, noise, or vibration. Give it time. A repair that looks solid on day one can still fail within a week if the root cause wasn't fully addressed.

Shaft Seal Repair vs. Replacement: Making the Right Call
The right call comes down to cost, downtime risk, and long-term reliability, not just what's cheapest on paper.
Minor Shaft Groove or Surface Wear
- Fix: Repair sleeve or epoxy rebuild to restore the sealing surface
- Replace: Only if the shaft is bent, cracked, or structurally compromised
Seal Material Failure or Incompatibility
- Fix: Swap in a correctly rated seal material for the application
- Replace: Full shaft or housing replacement is rarely needed for this alone
Repeated Failures on Critical Industrial Equipment
- Fix: Resolve the confirmed root cause, then monitor closely
- Replace: Consider it when downtime risk is too high to gamble on a repeat fix
For power plant or heavy industry gearboxes and pumps, repeated failures usually mean the diagnostic step got skipped somewhere along the way.
Houston Pump & Gear has handled this exact scenario before, including a 72-hour turnaround on a Lufkin S2212C gearbox that had triggered a power plant emergency shutdown. Rapid diagnostic and repair support often keeps a second failure from becoming a full production loss.
Aging Equipment With Unavailable Replacement Parts
- Fix: Sleeve or epoxy rebuild techniques, often far cheaper than sourcing obsolete parts
- Replace: Only when the broader equipment is genuinely near end-of-life
Common Mistakes to Avoid and Preventive Maintenance Tips
Most repeat failures come down to the same handful of avoidable mistakes:
- Treating the seal as the problem when shaft wear or contamination is the actual root cause
- Skipping post-repair testing, letting the same failure resurface within weeks
- Selecting incompatible seal material for the operating fluid or temperature range
- Neglecting lockout/tagout and safety procedures during in-place shaft repairs
On the maintenance side, a few habits go a long way:
- Schedule regular shaft and seal inspections—every 8 operating hours, with a full service around every 250 hours—to catch most issues early
- Maintain lubrication and filtration systems to reduce contamination
- Verify shaft alignment periodically, not just after a failure
- Train staff on correct seal installation procedures
Facilities without in-house repair resources don't have to handle this alone. Houston Pump & Gear runs 24/7 emergency repair support across Texas and Louisiana, which matters most when a seal failure turns into a shutdown at 3 a.m. on a Sunday.

Frequently Asked Questions
How much does shaft seal repair cost?
Cost varies by equipment type and severity, ranging from a low-cost repair sleeve or seal swap to a more involved shaft rebuild. Either way, it typically costs far less than replacing the full shaft or unit.
Can you keep running equipment with a leaking shaft seal?
Short-term operation may be possible, but continued leakage risks lubricant loss, bearing damage, and a more expensive repair down the line. Prompt diagnosis is always the better call.
How long should a shaft seal last?
Service life depends heavily on operating conditions. Noria reports that nitrile seal life drops by half for every 57°F increase in operating temperature. Heat, contamination, and material choice also determine how long a seal lasts, according to Machinery Lubrication.
Can a worn shaft be repaired without full replacement?
Yes. Repair sleeves and epoxy rebuild techniques can restore a worn shaft surface in place, avoiding costly shaft replacement in most cases.
What causes a shaft seal to leak shortly after replacement?
The usual culprits are improper installation, an unaddressed shaft groove that the new seal can't compensate for, or shaft/housing misalignment. All three point back to a diagnosis that missed the real root cause.
What is a shaft repair sleeve?
It's a thin-wall stainless sleeve installed over a worn shaft area to restore a clean sealing surface, without removing the shaft or machining the part.