
Seals wear out. Heat cycling, contamination, age, and bad installations all take their toll. Once a seal starts leaking, the clock is ticking before that issue becomes downtime you didn't plan for.
This guide walks through the most common seal problems, a step-by-step replacement process, when to repair versus replace, and when it's time to call a professional like Houston Pump & Gear for emergency support.
TL;DR
- Most seal failures fall into a few categories: leaking lips, contaminated oil, worn shaft grooves, or bad seating
- Replace only the seal unless the shaft or housing is damaged
- Core steps: diagnose, drain oil, remove seal, inspect shaft/bore, install, refill, and test
- Call a pro for large industrial gearboxes, emergency shutdowns, or shaft/housing damage
What Is a Gearbox Seal?
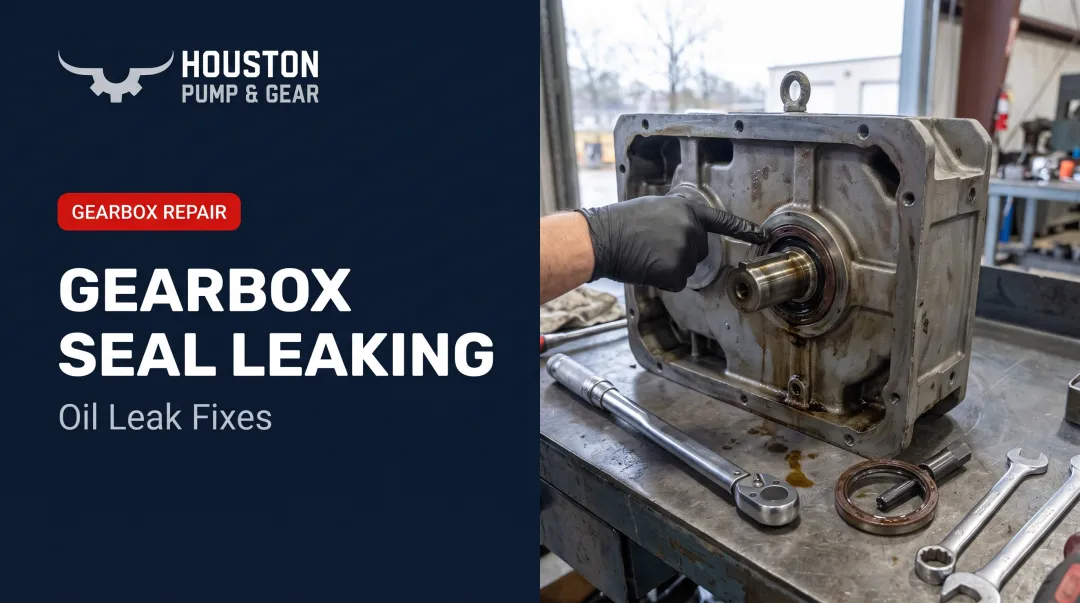
A gearbox seal (typically a radial lip seal) is the rubber-and-metal component sitting between the rotating shaft and the stationary housing. It has two main parts:
- A cylindrical outer covering that seals statically against the housing bore
- A spring-loaded sealing lip that maintains dynamic contact against the shaft
That spring tension is what makes the seal work. As the shaft spins, the lip stays pressed against it, holding lubricant in and keeping contaminants out.
Seals are wear components, not permanent fixtures. Heat, contamination, and time degrade the rubber lip gradually, which is why routine inspection matters just as much as the eventual replacement.

Common Problems With Gearbox Seals
Most seal failures follow a handful of predictable patterns. Here's what to look for:
- Oil leaking around the shaft — Visible oil residue, low fluid level, or oily puddles near the base; usually a worn or hardened seal lip that lost contact pressure
- Milky or contaminated oil — Cloudy, milky, or discolored lubricant when drained; the seal has been breached, letting moisture into the gearbox
- Grinding noise or vibration near the seal — Abnormal noise, vibration, or heat around the housing; debris under the lip or a scored shaft creating friction
- Rapid repeat seal failure — A new seal fails again within weeks; damaged shaft surface, incorrect orientation, or misalignment during install
Why Gearbox Seals Fail (Root Causes)
Seal failure rarely happens in isolation. It's usually the result of ongoing operating conditions:
- Continuous operational stress and heat cycling that gradually break down the rubber lip
- Environmental exposure to dust, moisture, or chemicals, especially in refineries and mills
- Improper installation, including wrong orientation or a scratched housing bore from a prior repair
- Delayed maintenance, including skipped oil changes and inspections that let small issues grow
A failing seal starts as a slow leak, then cuts gearbox efficiency, accelerates bearing wear, and contaminates lubrication that damages gear teeth. In power plant and industrial settings, that also raises safety and compliance concerns.

ABB's 2023 Value of Reliability survey found that more than two-thirds of industrial businesses experience unplanned outages at least monthly, with a typical cost near $125,000 per hour. On offshore rigs, a gearbox failure can run closer to $1.5 million per day.
How to Replace a Gearbox Seal (Step-by-Step)
Jumping straight to seal replacement without confirming the root cause is how repeat leaks happen. Following a structured process ensures you install the correct seal, catch shaft or housing damage early, and get long-term reliability out of the repair.
Step 1: Identify the Exact Problem
- Observe symptoms — leaks, milky oil, unusual noise near the seal housing
- Note when the leak appears: at startup, under load, or continuously
- Review oil level trends and recent maintenance history
Step 2: Drain Fluid and Access the Seal
Prepare the unit for clean, documented access before you touch the seal:
- Drain gearbox oil into a catch pan
- Remove covers, shafts, or couplings that block seal access
- Photograph component orientation before disassembly
- Free stuck parts with a puller or gentle heat — never force them
Step 3: Remove the Old Seal and Inspect the Shaft/Bore
Pull the seal carefully, then judge whether the running surfaces can support a new lip:
- Use a seal puller or pry bar without scratching the bore
- Check the shaft for grooves, rust, or scoring
- Polish only minor wear with fine emery cloth
- Stop if the shaft is deeply grooved; repair or replace it before installing a new seal
Step 4: Install the New Seal Correctly
Match, lube, and seat the seal square so it does not fail on first run-up:
- Confirm the seal matches the original make, model, and orientation
- Lightly lubricate the seal lip to prevent dry-start damage
- Drive the seal in evenly with a socket or seal driver
- Keep the seal square to the bore; an angled fit often causes early leaks
Step 5: Reassemble, Refill, and Test
- Reassemble components in the order you photographed, torquing fasteners evenly so the housing does not warp
- Refill with the correct gearbox lubricant from the bottom up to avoid air pockets
- Run under normal and load conditions, then watch for leaks, noise, or vibration over the following days

When Should You Fix vs Replace a Gearbox Seal?
Cost, downtime risk, and equipment age all factor into this decision.
| Scenario | Seal-Level Fix | Full Rebuild or Unit Replacement |
|---|---|---|
| Isolated leak, healthy shaft | Replace just the seal | Not needed |
| Grooved or scored shaft | Shaft repair or sleeve may fix it | Consider gearbox rebuild if grooving is severe |
| Repeated seal failures on an aging unit | Seal swap may be temporary | Full rebuild or unit swap often more cost-effective |
| Critical equipment, time pressure | A qualified shop can turn the job around quickly | Full replacement only if internal gear damage is found |
That last scenario isn't theoretical. Houston Pump & Gear completed an emergency 72-hour turnaround on a Lufkin S2212C gearbox, picking it up the same day a power plant went into emergency shutdown and returning it to service three days later. That kind of speed matters when every hour of downtime carries real cost.
Repairs are usually the better value, too. Rebuilding a gearbox typically costs 40-50% less than buying new, and manufacturer-direct replacements can take 8-10 months to arrive, versus weeks for a qualified repair shop.

Common Mistakes to Avoid When Replacing a Gearbox Seal
A clean install still fails early if these mistakes make it into the job:
- Treating the seal as the only problem without checking shaft or bore condition first
- Skipping post-repair testing, so a leak returns under load after reassembly
- Using an incompatible seal: wrong size or material for the application
- Ignoring lockout/tagout procedures on industrial gearbox work, which creates real safety exposure
Preventive Measures to Avoid Future Seal Issues
Preventive maintenance costs far less than emergency repairs. Build these habits into your maintenance routine:
- Schedule regular oil analysis and visual inspections to catch leaks early—quarterly checks are a solid baseline
- Follow the manufacturer's recommended maintenance intervals for your specific gearbox
- Maintain proper operating conditions: ventilation, contamination control, and correct oil fill levels
- Keep oil fill in spec—overfilling pushes oil through gaskets; underfilling causes friction-driven leaks
- Train maintenance staff on seal inspection and correct installation practices
- Keep a documented seal replacement history for each unit
Conclusion
Most gearbox seal issues are fixable, when they're caught early and diagnosed correctly. The seal itself is rarely the whole story. Checking the shaft, bore, and lubrication conditions is what prevents the same failure from happening again in three months.
Knowing when to repair versus replace saves money and downtime. A rapid-response partner on call around the clock, like Houston Pump & Gear, means a shutdown doesn't turn into a week-long production loss.
Frequently Asked Questions
What is a gearbox seal?
A gearbox seal, typically a radial lip seal, retains lubricant inside the gear drive while blocking dirt, moisture, and debris at the point where the rotating shaft exits the housing.
How much does a gearbox seal cost?
The seal itself is usually inexpensive. Total repair cost depends on gearbox size, how accessible the seal is, plus labor and downtime from the teardown.
How do I know if my gearbox seal is leaking?
Watch for visible oil residue around the shaft, a dropping fluid level, and milky or discolored oil when drained. Any of these points to a seal breach.
Can a gearbox run with a bad seal?
Technically yes, but it's risky. A failed seal invites contamination, accelerates wear on gears and bearings, and can lead to full gearbox failure over time.
How long does it take to replace a gearbox seal?
Timing varies with gearbox size and accessibility — anywhere from a few hours for a simple unit to multi-day teardowns for large industrial gearboxes. Houston Pump & Gear has turned around emergency gearbox repairs in as little as 72 hours.
Should I call a professional to replace a gearbox seal?
For large industrial or power plant gearboxes, yes. The downtime and safety risks are high enough that professional diagnosis and repair, backed by proper root cause analysis, are worth it.