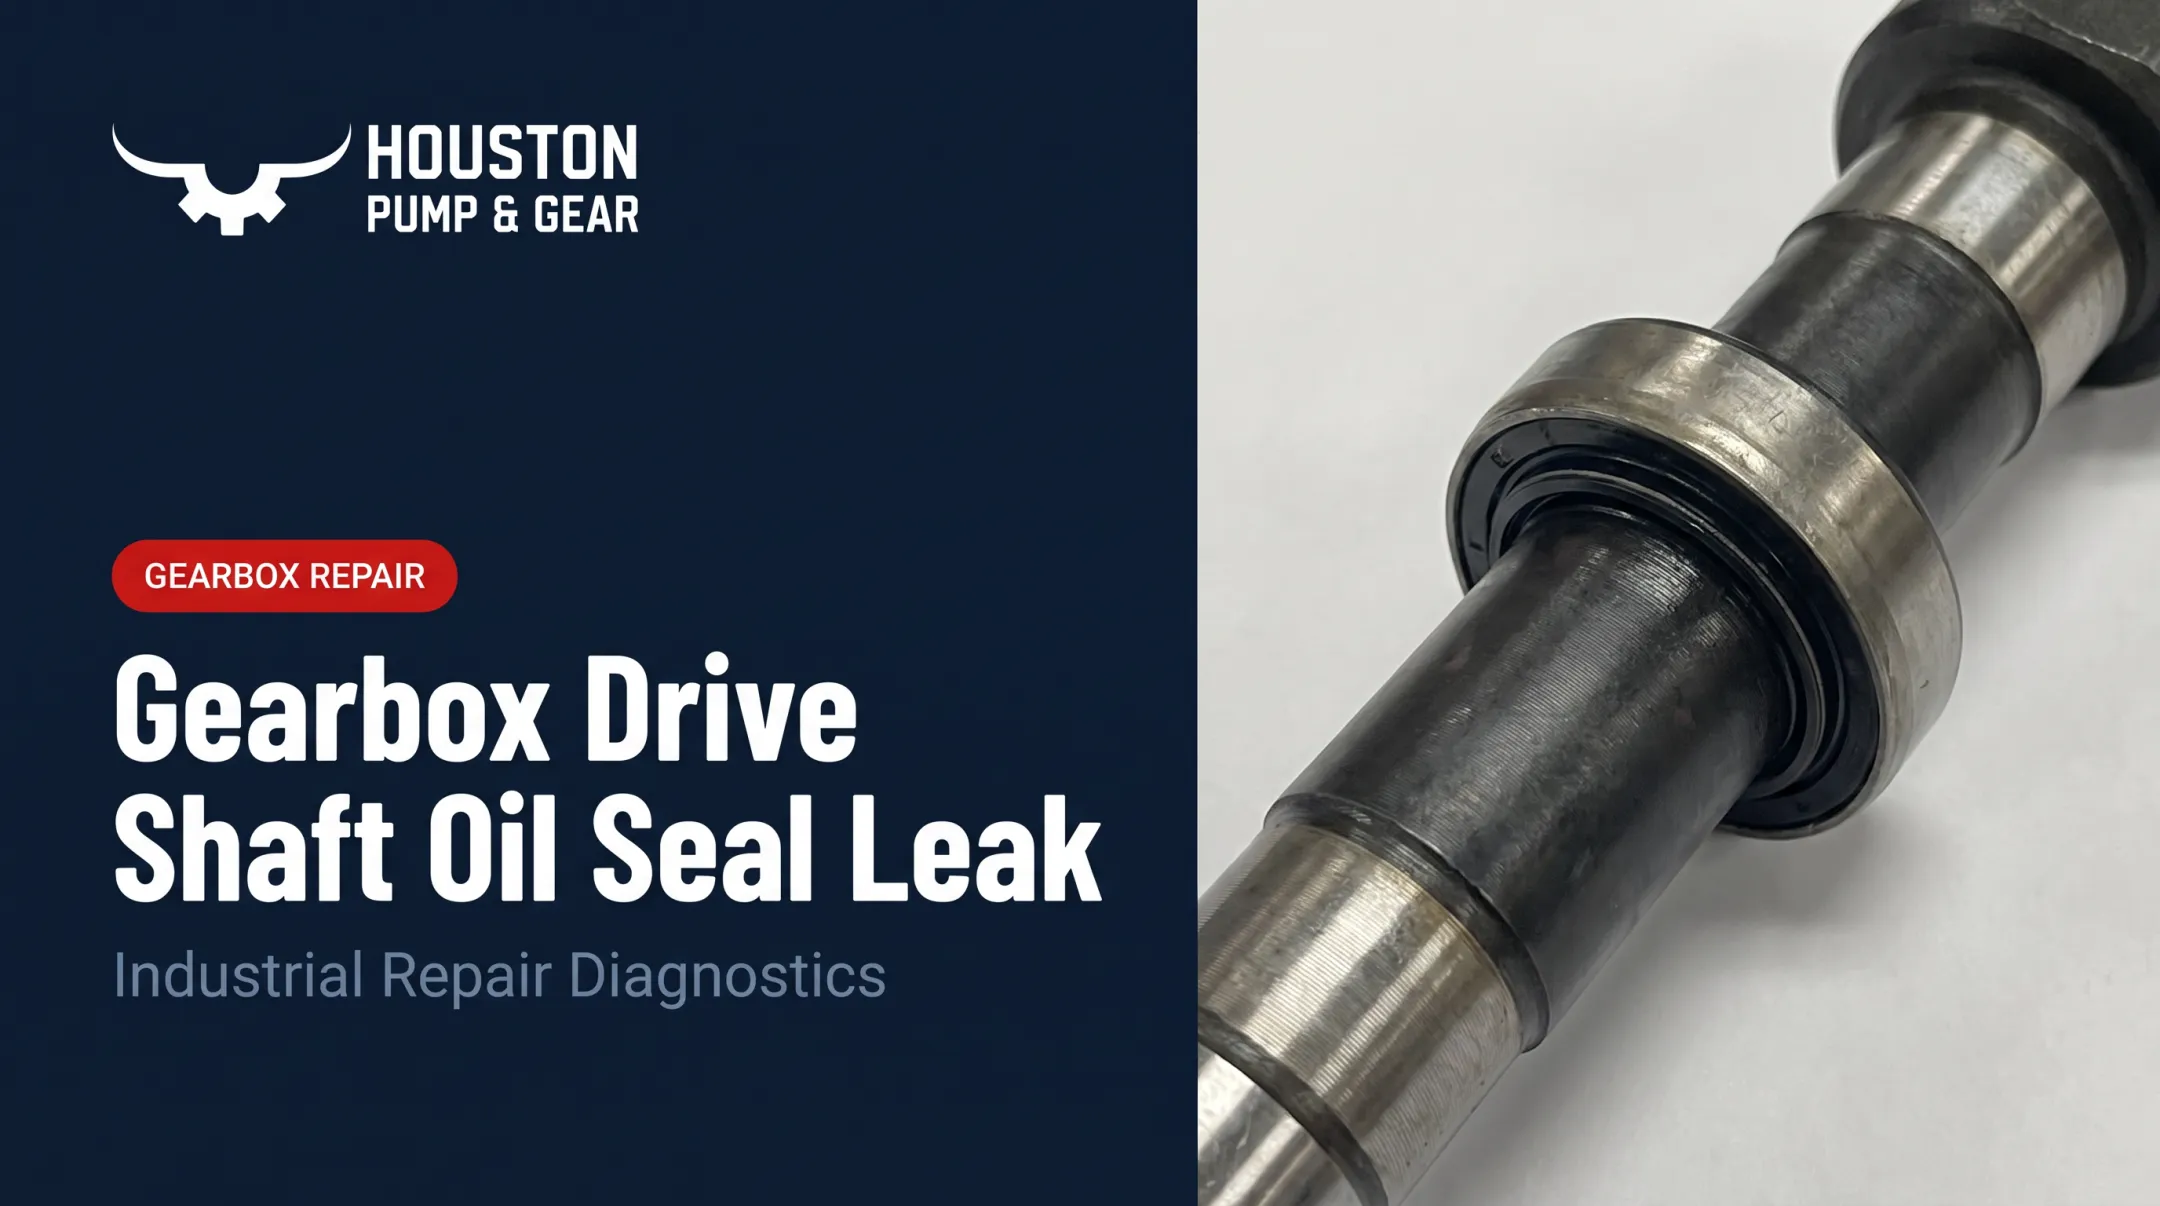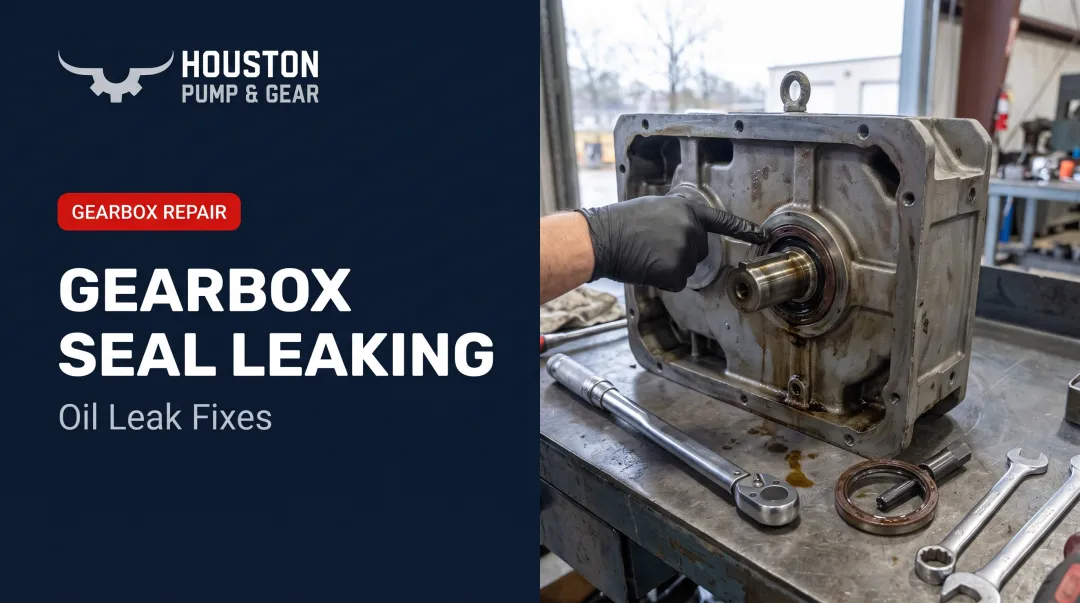

Oil seals wear down from heat, misalignment, or improper installation during a prior service. Catching the failure early is what separates a routine seal swap from an unplanned shutdown. This article walks through the common failure patterns, a step-by-step replacement process, how to decide between repair and replacement, and when the job needs a specialist.
Key Takeaways
- Most oil seal problems (leaks, noise, contamination) trace back to a handful of predictable causes tied to wear, heat, or misalignment
- Replacement beats repair in most cases—but only after the root cause is correctly diagnosed
- Successful replacement hinges on inspecting the shaft and housing, then installing the new seal with correct alignment
- Complex gearboxes or seals that keep failing often need professional diagnosis to stop the cycle
What Is an Oil Seal?
An oil seal is a ring-shaped component, typically a rubber sealing lip set inside a metal or composite outer case, mounted around a rotating shaft. Its job is straightforward: keep lubricant inside the housing while keeping dirt, dust, and moisture out.
The lip maintains constant contact with the shaft, often assisted by a small garter spring that keeps radial pressure consistent. This contact depends on a thin lubricating film between the lip and the shaft. According to SKF's technical specifications, that film reduces friction and wear, carries away heat, and sustains the hydrodynamic conditions needed to prevent leakage.
Oil seals are wear components, not permanent fixtures. Timken's technical manual is direct on this: every radial lip seal is a contact seal, and the elastomer touching the shaft eventually wears away.
Whether the application is a pump, gearbox, engine, or transmission, the seal has a finite service life. Planning for replacement, not just installation, is part of running the equipment correctly.
Common Oil Seal Problems and Their Root Causes
Oil seal failures aren't random. They follow recognizable patterns, and knowing which pattern you're looking at tells you a lot about the fix.
Problem 1: Oil Leakage Around the Shaft
Symptoms: Visible oil residue on the housing, dripping fluid, or a lubricant level dropping faster than it should.
Likely cause: A worn or hardened sealing lip, or a scored and damaged shaft surface where the lip rides.
Problem 2: Contamination Entering the Housing
Symptoms: Gritty or discolored lubricant, and accelerated wear on bearings or gears.
Likely cause: A torn or cracked seal lip letting in dirt, dust, or water. Auxiliary lips help exclude contaminants, but once debris gets past them, the shaft surface itself can be damaged.
Problem 3: Unusual Noise, Heat, or Vibration Near the Seal
Symptoms: Whining, grinding, or a noticeably hot spot at the seal location during operation.
Likely cause: Off-center installation, a dislodged spring, or shaft misalignment. Misalignment creates uneven lip loading and can open a gap too large for the lubricant film to bridge.
Problem 4: Repeated Seal Failure After Replacement
Symptoms: A newly installed seal starts leaking again within weeks or months.
Likely cause: Underlying shaft wear, an incorrectly sized or specified seal, or a root cause from the previous failure that was never addressed.
Root Causes Behind Oil Seal Failure
Most of these problems trace back to a short list of operating conditions:
- Operational stress: speed, pressure, or vibration beyond the seal's rating
- Environmental exposure: heat cycling, moisture, or chemical contact
- Improper installation during a prior service (wrong orientation, cocked seating, damaged lip)
- Skipped inspections or lubrication as part of routine maintenance
Timken's failure analysis backs this up. Leakage and premature wear usually trace to wrong dimensions, rough surfaces, cocked installation, runout, misalignment, and inadequate lubrication, not manufacturing defects.
Ignoring these warning signs gets expensive fast. A 2023 Plant Engineering survey found that maintenance professionals estimated the average cost of unplanned downtime at roughly $108,000. A leaking seal caught early is a maintenance line item. Left alone, it can become an unplanned outage.

How to Replace an Oil Seal: Step-by-Step Process
Jumping straight to seal removal without confirming what actually failed is how you end up replacing the same part twice. Diagnose first, then act.
Step 1: Identify the Exact Problem
- Document symptoms: leak location, noise, contamination, or performance loss
- Note when the issue shows up: at startup, under load, or during continuous run
- Measure the old seal's inner diameter, outer diameter, and width before sourcing a replacement
Step 2: Prepare the Equipment and Gather Correct Parts
- Disconnect power/drive and drain lubricant into a suitable container
- Gather a seal puller, seal installer or driver, degreaser, torque wrench, and the correctly sized replacement seal
- Confirm the replacement matches OEM material and orientation specs before you touch the old seal
Step 3: Remove the Old Seal and Inspect the Housing
Carefully pry or pull the old seal out without scoring the housing bore or shaft. Clean off old sealant, debris, and residue.
Then inspect closely:
- Shaft: Check for grooves or wear at the sealing surface
- Housing: Check for cracks or an uneven seating surface
If either shows damage, flag it for machining or repair before moving forward. Installing a new seal onto a scored shaft just guarantees another leak.
Step 4: Install and Align the New Seal
- Apply a thin, compatible lubricant film to the sealing lip
- Position the seal squarely and press or tap it in evenly with a proper installer
- Never strike the seal directly; a cocked seal will leak again
- Reassemble covers and torque fasteners to spec in a cross-pattern sequence
Step 5: Refill, Test, and Validate the Fix
- Refill with the correct lubricant type and quantity
- Run under normal load, then peak load, watching for leaks, noise, or heat at the seal
- Confirm stable operation before returning the unit to full service

When Should You Repair vs Replace an Oil Seal (or the Equipment Around It)?
The right call here comes down to downtime cost, safety risk, and long-term reliability, not just the price of the part.
Scenario 1: Minor Leak Caught Early on Accessible Equipment
If the shaft and housing are undamaged, replace the seal alone. If the shaft shows grooving where the old lip rode, resurface it or install a wear sleeve before fitting the new seal. Running a fresh lip in an old wear track just recreates the leak.
Scenario 2: Repeated Failures on the Same Seal Location
First, reassess installation technique, alignment, and seal specification before trying again. If failures keep happening after that, the shaft, bearing, or housing itself likely needs attention, not just another seal.
Scenario 3: Critical or Complex Industrial Equipment (Gearboxes, Pumps)
In-house teams can often handle straightforward external seals with the right tools and training. Internal gearbox seals are another matter: they typically require disassembly, and units under warranty risk voiding coverage if opened incorrectly.
When to Call a Professional Instead of DIY
On large industrial gearboxes and pumps, a botched seal job can fail again and trigger secondary damage to bearings and gears, turning a seal repair into a full rebuild. That secondary damage risk outweighs the initial service call cost.
This is where 24/7 emergency response and mobile field pickup earn their keep. Houston Pump & Gear keeps dedicated transport trucks on standby specifically to minimize downtime for power plants and heavy industry clients who can't afford a slow turnaround.
One documented case makes the point: when a gearbox failure sent a power plant into emergency shutdown, HPG dispatched a truck the same day, collected the customer's Lufkin S2212C gearbox, and had the plant back in operation 72 hours later.
That customer has since had more than 15 units serviced by the company, a relationship built on that first emergency response.

Mistakes to Avoid and Preventive Maintenance Tips
Most early seal failures trace back to install shortcuts or skipped upkeep. Avoid the mistakes below, then lock in a few habits that catch problems before they take equipment offline.
Common installation mistakes:
- Installing a new seal without fully cleaning the housing bore
- Installing the seal backward or using the wrong size
- Skipping post-install leak testing
- Reusing a damaged or scored shaft without repairing it first
Preventive maintenance habits:
- Schedule regular visual inspections to catch early leak signs
- Follow OEM lubrication intervals — don't stretch them
- Protect shaft and housing surfaces from contaminants during service
- Log seal work so repeat failure patterns show up early
Conclusion
Most oil seal problems are straightforward to fix once you've correctly diagnosed them. Shaft and housing condition matter just as much as the seal itself. Install a new lip on a scored shaft and you're back here in a few months. Knowing when to escalate to a specialist protects both uptime and the equipment's long-term life.
How much does it cost to replace an oil seal?
Cost varies widely by seal size and equipment type. A small standard seal is inexpensive in parts, while an industrial gearbox or pump seal that needs disassembly or emergency service carries higher labor costs. Get a quote based on your specific unit.
What are signs of a bad oil seal?
Common signs include oil leaks around the shaft, dropping lubricant levels, contaminated or discolored oil, and unusual noise or heat near the seal. Repeated failure shortly after a prior replacement is another red flag.
Can an oil seal be replaced without removing the shaft or gearbox?
Many external seals can be replaced in place. Internal seals on gearboxes or pumps often require partial disassembly, which is why professional evaluation makes sense for complex equipment.
How long does an oil seal replacement typically take?
A simple external seal swap can take a few hours. Industrial gearbox seals requiring disassembly and testing take longer. Houston Pump & Gear's documented 72-hour turnaround on an emergency Lufkin S2212C gearbox repair shows what an expedited case looks like.
What causes an oil seal to keep leaking after replacement?
Repeat leaks usually trace to an unresolved root issue such as shaft wear, misalignment, wrong seal specification, or an installation error, not a defective seal itself.
What is the difference between an oil seal and a gasket?
An oil seal seals around a rotating shaft to contain lubricant and keep out contaminants. A gasket seals a stationary joint between two flat surfaces, such as a housing cover.