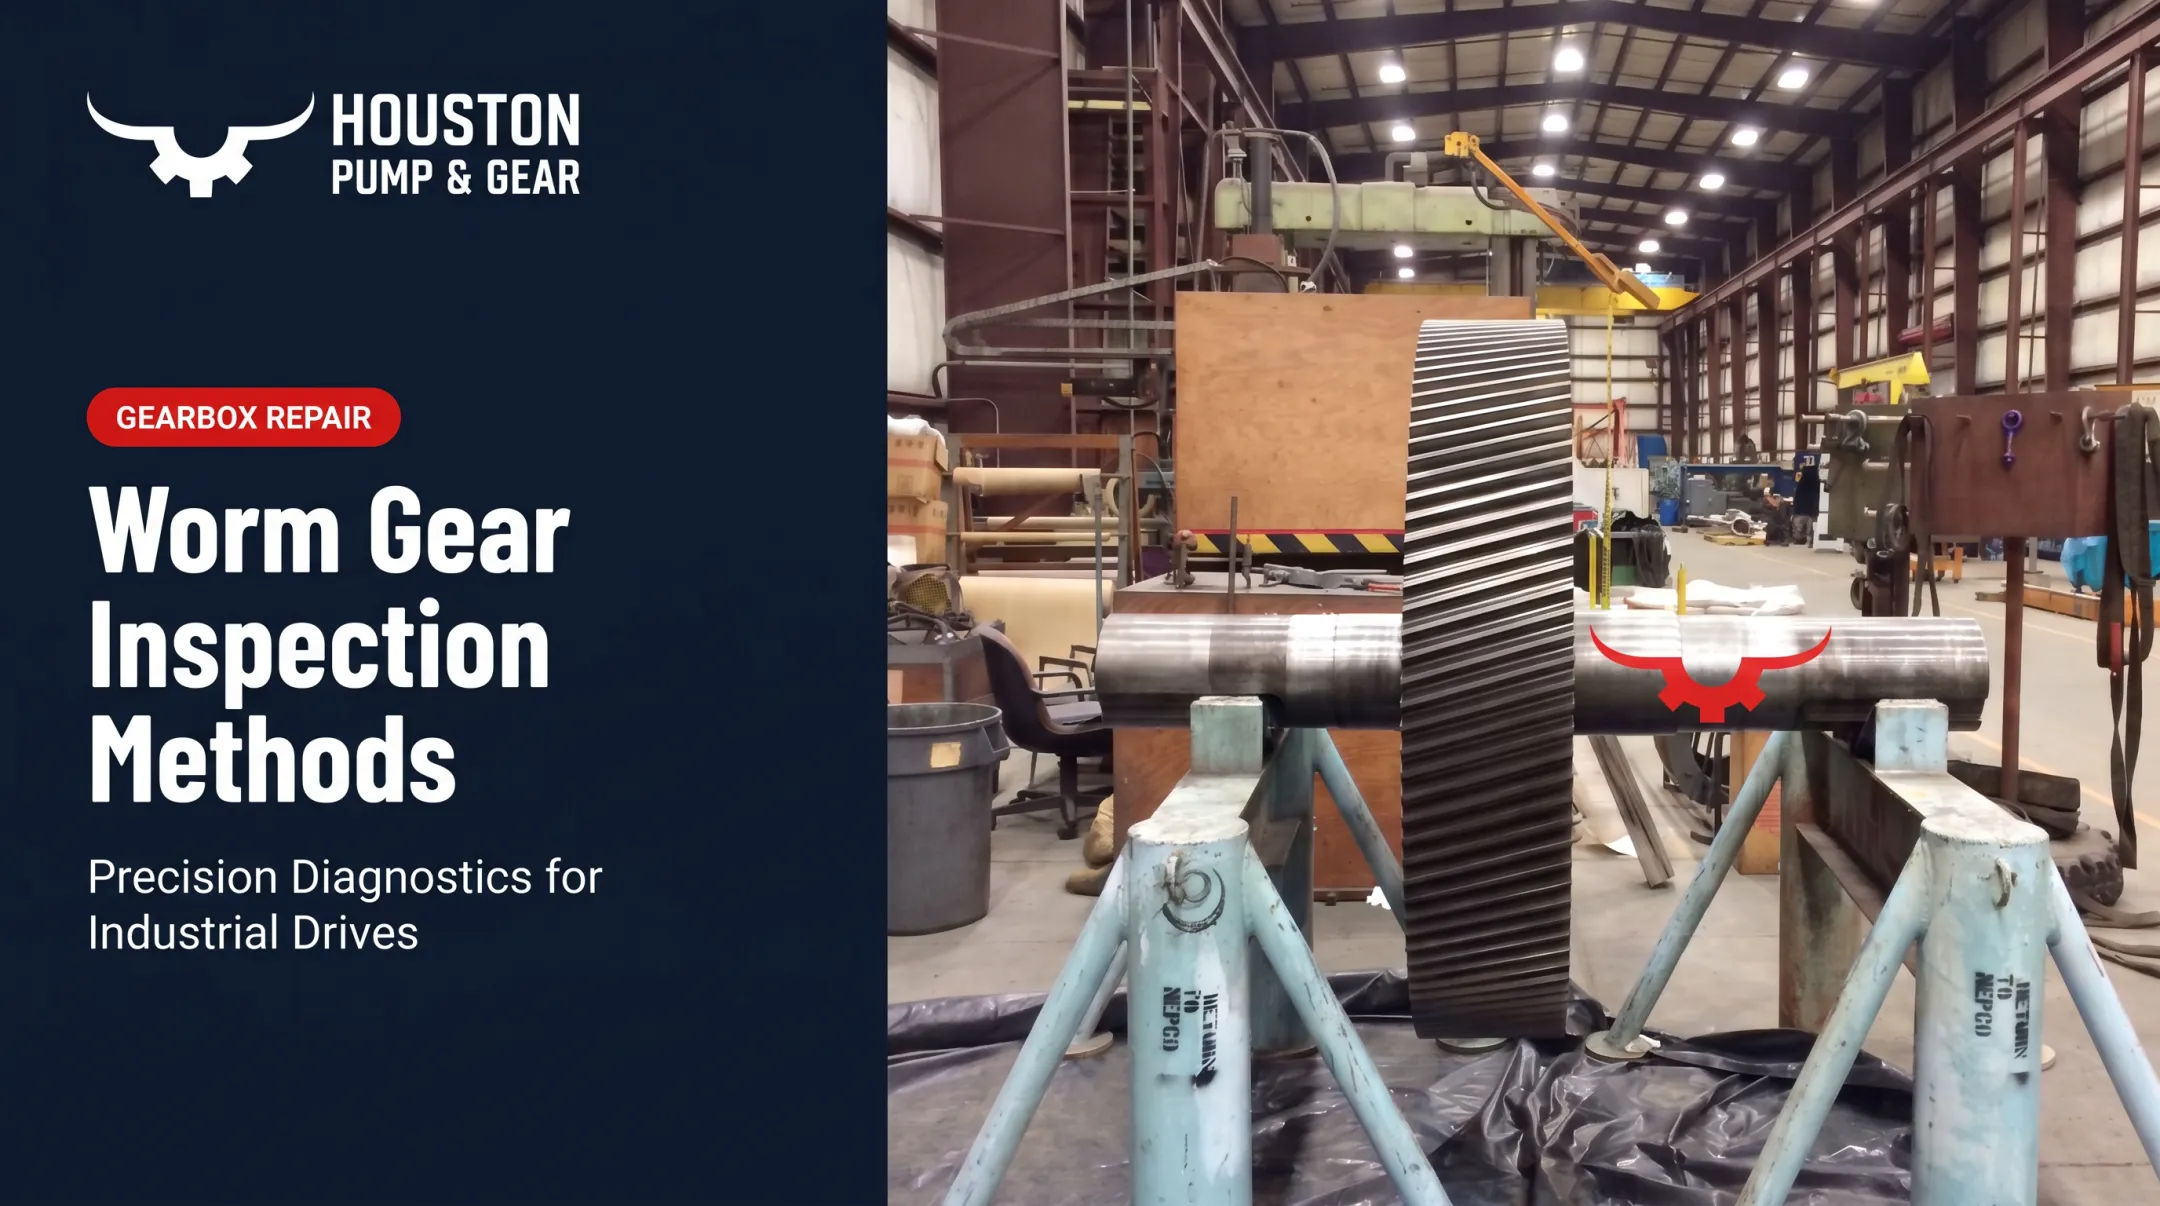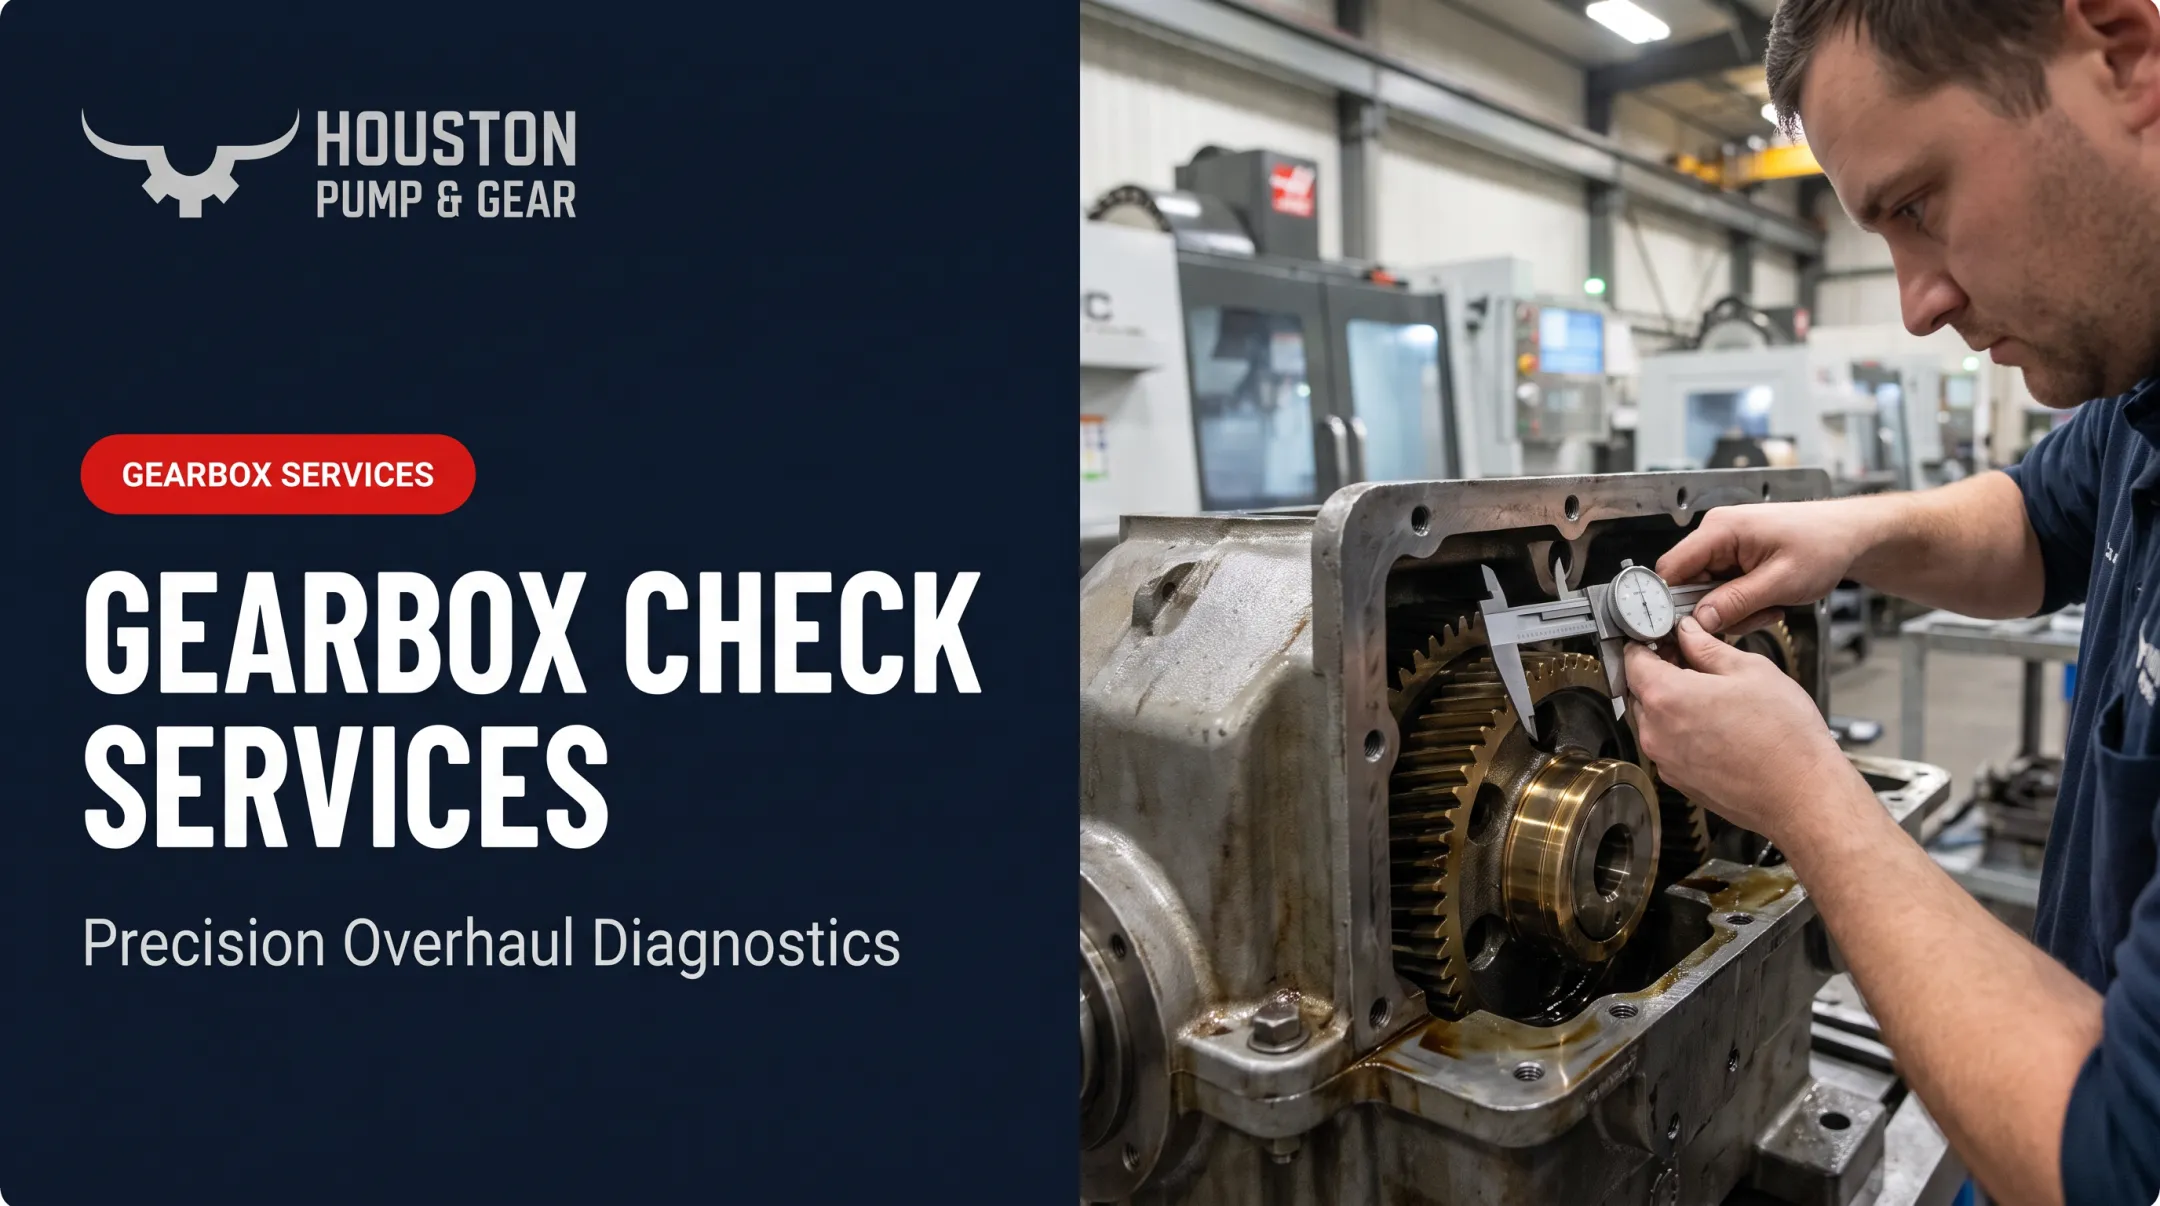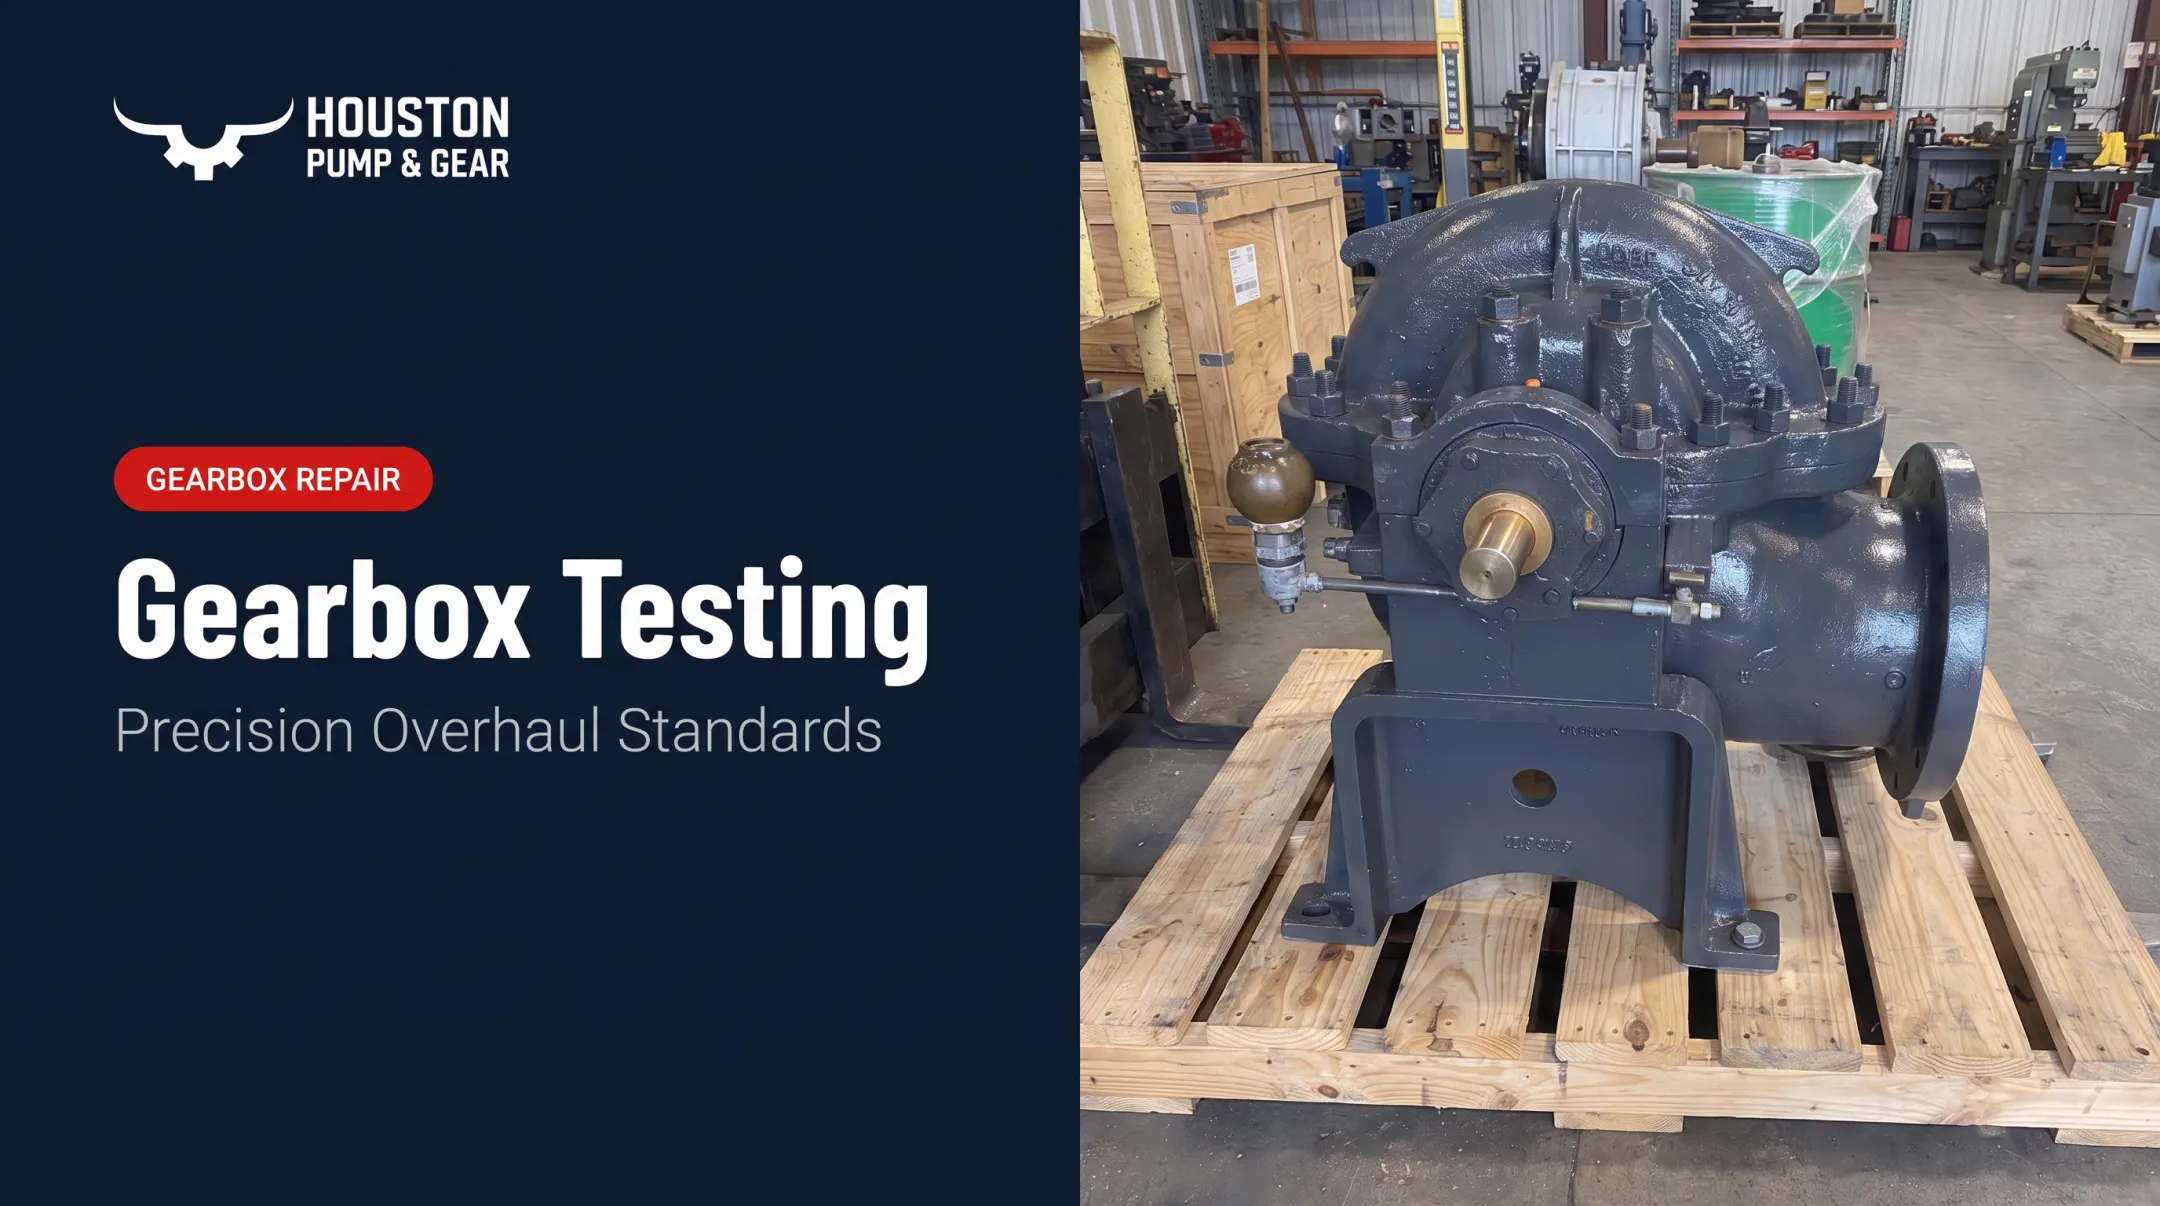

This guide walks through the tools you need, three core inspection methods, and how to read your results correctly, whether you're doing daily rounds or preparing for an annual internal inspection.
TL;DR
- Gather dial indicators, borescopes, thermometers, vibration meters, and oil kits—confirm lockout/tagout first
- Three core methods: visual/port inspection, temperature and vibration checks, and gear contact patterns
- Results fall into three buckets—normal, minor issue, or out-of-spec—each needs a different response
- Misplaced probes and unstabilized readings cause more false alarms (and missed problems) than any other mistake
- Serious in-house wear findings: a repair partner can keep weeks of downtime from becoming months
What You Need to Inspect a Gearbox
Getting accurate, repeatable readings starts with having the right tools on hand and a clean, safe point of access. Skipping this step is how facilities end up chasing false readings or missing real problems.
Tools and Indicators Required
Before opening a single cover, assemble:
- Dial indicator with magnetic base — for backlash and shaft endplay
- Borescope — for internal visual checks without full disassembly
- Infrared thermometer or thermal camera — for housing, sump, and bearing temperatures
- Vibration meter — for input/output bearing readings
- Marking compound (such as PT-650) and layout lacquer — for gear contact patterns
- Torque wrench, flashlight, mirror, and oil sampling kit — for fasteners, visual checks, and lubricant condition
Noria's inspection procedure lists this same mix of visual, thermal, vibration, and oil-analysis tools as the baseline for industrial gearbox work. No single tool catches every failure mode. Their gearbox inspection guide notes that metal chips on a magnetic plug or discolored oil can flag problems a visual scan through a port would miss.

Preconditions and Setup
Three things need to happen before you touch a cover:
- Confirm lockout/tagout and zero-energy state. OSHA's hazardous energy standard requires a documented energy-control procedure, isolation of every energy source, and verification before contact. A quick glance that the motor is off is not enough.
- Clean the gearbox and surrounding area. Dirt near an open port is one of the fastest ways to contaminate the interior and generate false wear readings.
- Verify lighting and access to inspection ports, sight glass, and sample points before you start the clock on a shutdown window.
Methods to Inspect a Gearbox
Which method you use depends on how much accuracy you need, what tools you have, and whether the gearbox can be taken offline. Most thorough inspections use all three.
Method 1: Visual and Inspection Port Examination
This is your fastest, lowest-cost check. It catches overheating, leaks, contamination, and visible gear or bearing damage without any disassembly. Tools needed: flashlight, mirror, borescope, cleaning supplies Steps:
- Clean around the inspection port and breather before opening anything
- Remove the cover carefully, counting bolts so none get dropped inside
- Examine gears, bearings, and the oil sight glass or dipstick for discoloration, foam, or metal chips Pros: Fast and low-cost Cons: Limited to what you can see and reach; misses internal bearing wear or misalignment until debris shows up
Method 2: Temperature, Vibration, and Sound Measurement
This method finds problems visual checks miss: misalignment, early bearing wear, or overheating under the surface. Tools needed: infrared thermometer/thermal camera, vibration meter, RTD probes Steps:
- Measure housing, oil sump, and bearing temperatures at consistent load and speed conditions
- Take vibration readings at input and output bearings, recording overall velocity
- Compare readings against your established baseline or the applicable gearbox-specific vibration standard Important: Generic vibration charts built for motors and pumps are not a substitute for gearbox-specific acceptance values. ISO 20816-9 applies to enclosed gear units, but its numeric limit tables are not freely published. Use the licensed standard or your OEM's values—not a number borrowed from another equipment class. ISO 20816-9:2020 confirms zone boundaries for gear units rated between 10 kW and 100 MW. Pros: Detects internal wear early without opening the unit Cons: Needs baseline data to trend against; a single reading in isolation tells you little
Method 3: Gear Backlash, Endplay, and Contact Pattern Check
This is the most precise method and the most time-intensive. It measures mechanical wear and mesh alignment directly, which affect both load capacity and gear life. Tools needed: dial indicator, marking compound, layout lacquer, transparent tape Steps:
- Mount the dial indicator and measure backlash and shaft endplay against model-specific tolerances (not universal numbers)
- Apply marking compound or layout lacquer to gear teeth and run the unit under no-load or loaded conditions
- Lift and document the contact pattern with tape, photographing it for a permanent record A Falk bevel-drive manual, for example, sets axial float between 0.001 and 0.004 inches, with backlash tolerance tied to gear diameter. Pros: Precise detail on alignment and wear that other methods cannot match Cons: Requires running the gearbox and takes more time than a visual or thermal check

How to Interpret the Results
Misreading gearbox inspection results is expensive either way. Miss a real problem and you risk catastrophic failure; treat a normal reading as a fault and you trigger an unnecessary shutdown.
Normal/acceptable:
- Steady baseline temperatures
- Vibration under manufacturer limits
- Centered, even contact patterns
Continue your routine monitoring schedule.
Minor issues:
- Slight temperature rise (under 18°F from baseline)
- Minor edge contact wear
- Slightly elevated vibration
Schedule closer monitoring and plan a fix at the next scheduled outage rather than an emergency stop.
Out-of-spec:
- Dark or foamy oil
- Metal chips on magnetic plugs or filters
- Vibration exceeding your equipment's threshold
- Macropitting on gear teeth
Stop operation immediately if safety is at risk, then start repair or a professional inspection right away—Houston Pump & Gear handles gearbox inspection and overhaul when findings move past in-house limits. Dark or black oil almost always means aging or contamination; change the fluid immediately rather than watch and wait.

Common Errors in Inspecting a Gearbox
Even experienced technicians run into these mistakes:
- Misplacing the dial indicator or thermal probe — produces inaccurate backlash or temperature readings
- Taking vibration or temperature at inconsistent load/speed points — makes trend comparisons meaningless over time
- Skipping gearbox stabilization before measuring — yields readings that don't match real operating conditions
- Misreading normal wear as misalignment (or the reverse) — usually comes from limited contact-pattern experience
A single loaded contact pattern can look like the inverse of a no-load pattern for the same gearbox. Without that context, technicians sometimes flag healthy gears as damaged, or worse, wave off real wear as normal break-in.
Safety and Best Practices
Every inspection should start and end with the same non-negotiables:
- Follow lockout/tagout procedures and verify zero stored energy before opening covers or accessing rotating components
- Use a stable platform and proper PPE — gloves, eye protection, hearing protection near running equipment
- Keep the work area clean to avoid contaminating the gearbox interior during inspection
Safety also means knowing when an inspection has gone past what your team should handle in-house. When internal damage or persistent out-of-spec readings show up, bring in a repair partner who can move fast.
Houston Pump & Gear offers 24/7 emergency response for facilities across Texas and Louisiana. In one case, a 72-hour turnaround returned a power plant to full service after a Lufkin S2212C gearbox failure forced an emergency shutdown. Technicians measure, check, and document every bearing, seal, and gear, then produce a service report that outlines the failure mechanism and required repairs.
Conclusion
Routine, accurate gearbox inspection is your best defense against unplanned downtime and catastrophic failure. That means combining the right tools, consistent procedures, and correct interpretation across visual, thermal, vibration, and mechanical checks — not relying on any single method alone.
When results point to serious wear or damage, how fast you respond determines whether your facility faces hours of downtime or weeks of it. For confirmed faults beyond in-house repair, Houston Pump & Gear provides 24/7 emergency gearbox inspection, overhaul, and exchange support to get critical equipment back online quickly.
Frequently Asked Questions
Is a gearbox expensive to fix?
Cost varies widely based on damage severity, from a simple bearing swap to a full gear rebuild. Catching issues early through routine inspection is cheaper than an emergency repair after failure.
How do I know if my gearbox is bad?
Watch for unusual noise, overheating, oil leaks, metal chips in the oil, or vibration exceeding normal levels. A professional inspection can confirm the root cause once you spot any of these signs.
Is regular gearbox service necessary?
Yes. Regular service and inspection extend gearbox life and prevent unplanned downtime, which is far more cost-effective than reactive emergency repairs.
What is the purpose of an industrial gearbox?
A gearbox adjusts speed and torque between a motor and driven equipment, making it essential to reliable operation across power plants and heavy industry.
How often should a gearbox be inspected?
Follow a tiered schedule: daily visual and noise checks, weekly vibration and temperature readings, monthly oil analysis, and annual internal inspections.
What should I do if my gearbox fails unexpectedly during operation?
Shut it down immediately to prevent further damage, then contact a 24/7 emergency repair provider to minimize downtime and get operations back online quickly.